
Photometric Glow Subtraction
The glow of bright stars, measured on our stars and subtracted star by star with Gaia
Photometric Glow Subtraction removes the wide, faint glow that bright stars spread over an image. It measures the shape of that glow on the image's own stars, takes each star's position and brightness from the Gaia catalog, and subtracts every bright star's glow, stars just outside the frame included, while the stars themselves stay. We use it on linear, plate solved images, before any gradient correction, when the faint things we are after (cirrus, the outer halos of galaxies, the edges of a nebula) sit under that glow.
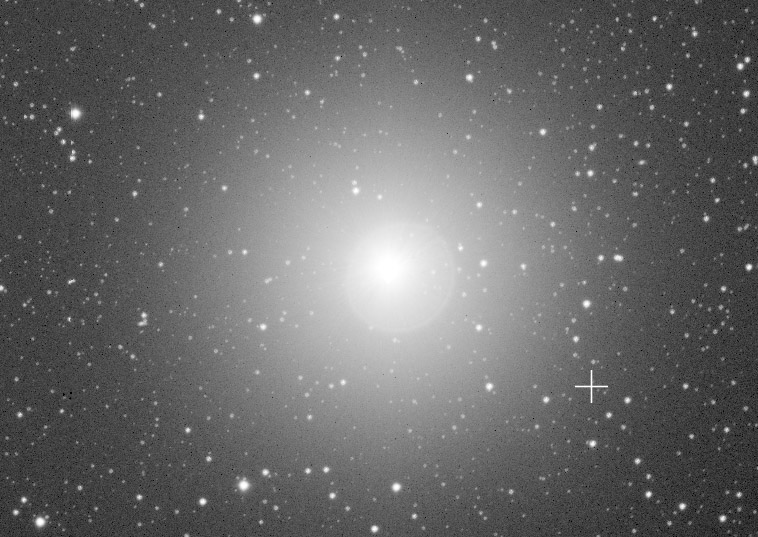
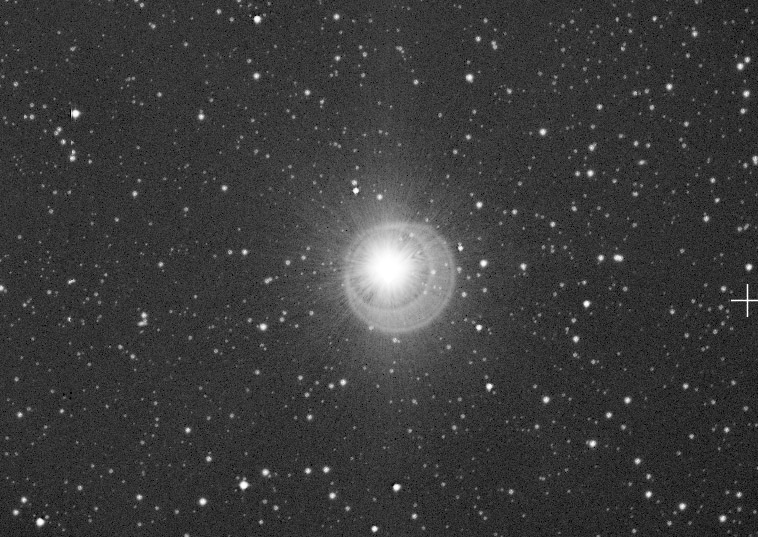
1Introduction
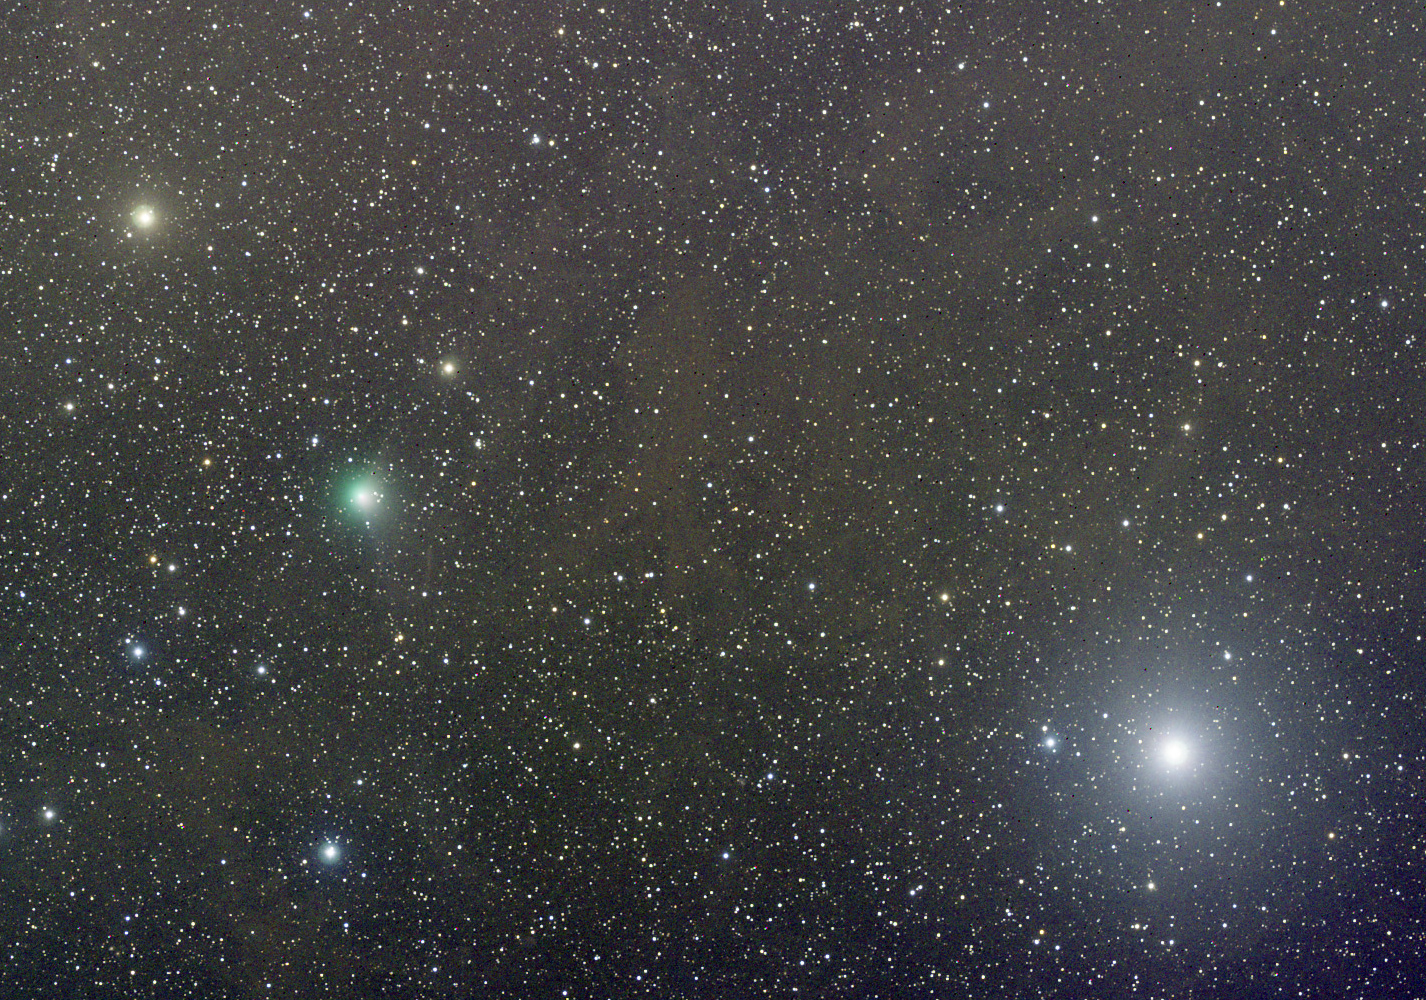
A star is not a dot. The optics, the filters and the sensor's window scatter a small part of every star's light far from it, out to many arcminutes. For an ordinary star that light is lost in the noise, but around a bright star it is a wide glow, and it is brighter than what a deep image is after. A gradient tool cannot remove it, because it is not a gradient: it is centered on each bright star, a different size around each one, and it overlaps from star to star.
The glow has one thing in its favor: its shape is the same for every star of an image, and its level follows each star's brightness. That shape is the outer part of the image's point spread function, the extended PSF. Photometric Glow Subtraction measures it and subtracts it, as low surface brightness astronomers do:
- The shape is measured on the image's own stars: the faint ones give its inner part, where the bright ones are saturated, and the bright ones its outer part, where the faint ones are lost in the noise.
- Each star's brightness comes from its Gaia DR3 magnitude and color, checked against the star on the image. Stars just outside the frame are included: their glow reaches in, and Gaia knows where they are.
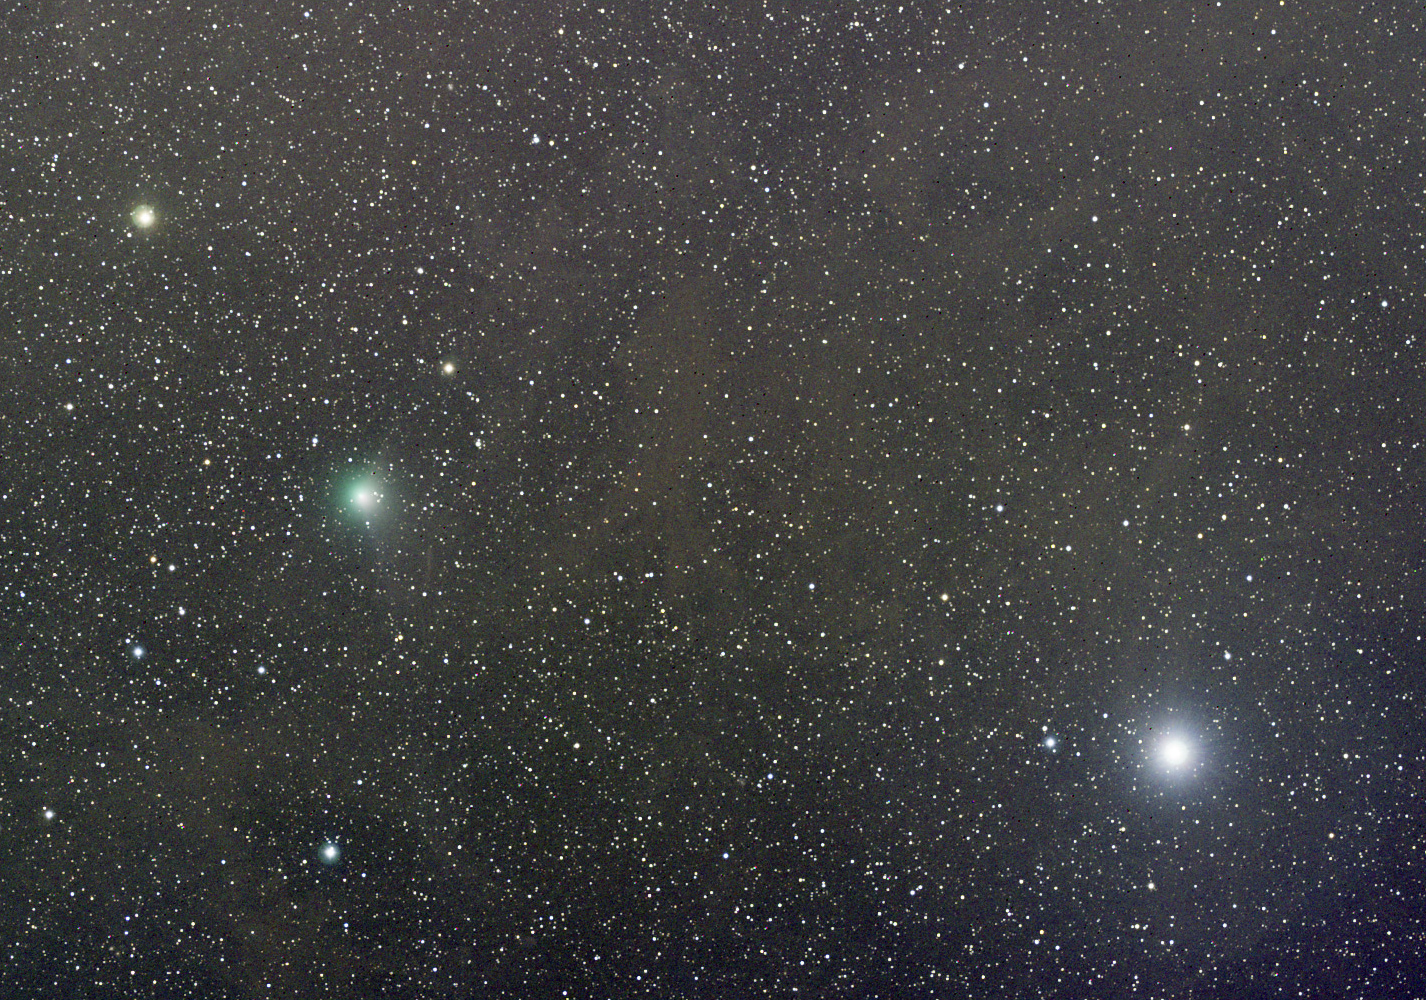
- Each bright star's glow is drawn with that shape and that brightness, and subtracted. The star itself stays: only its glow goes. Nothing is smoothed or filtered, and the glow taken off can be kept as an image of its own.
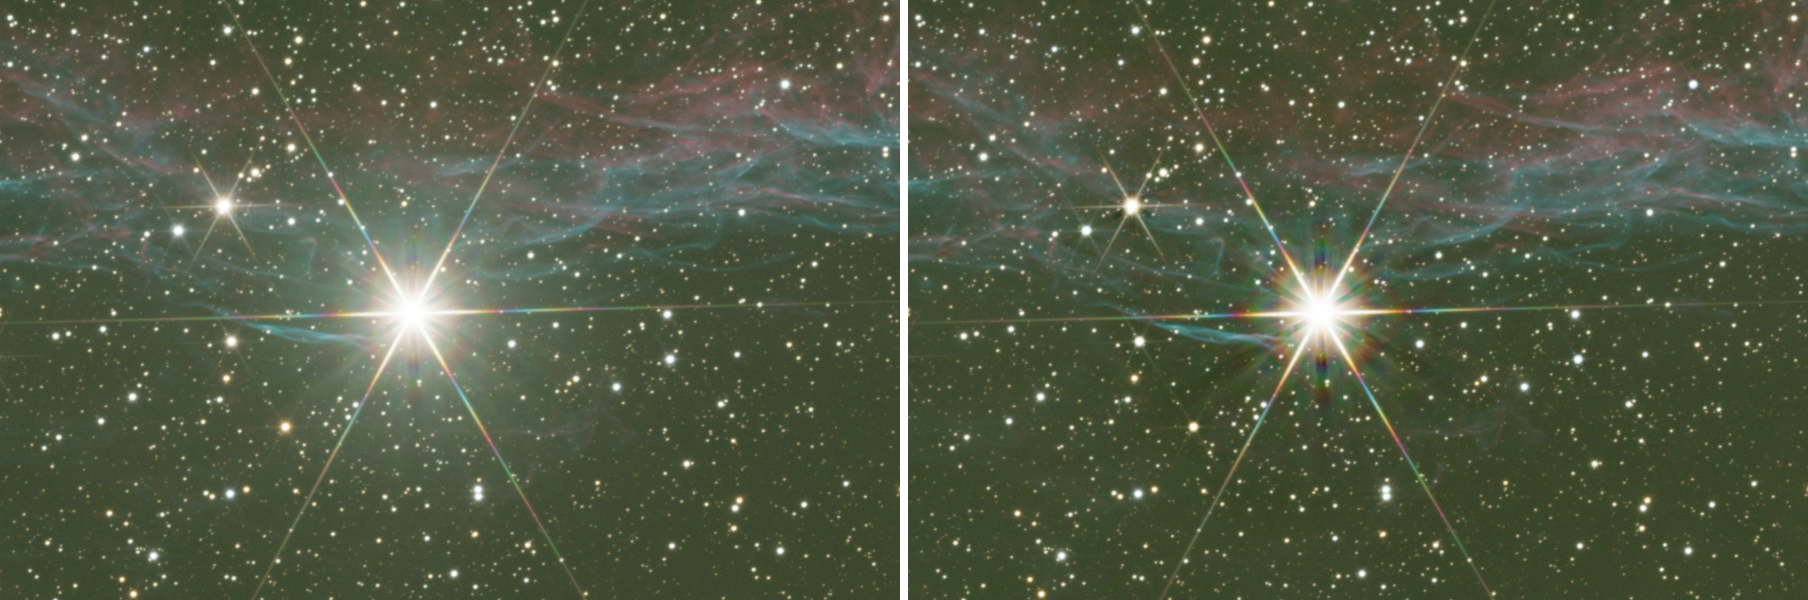
2Quick Start
- Open a linear image with an astrometric solution (a master straight from integration is ideal) and choose . An image without a solution can be solved first with Plate Solve; applying the process to it offers that solve too.
- Leave every setting at its default and turn on Create an image of the subtracted glow.
- Click Apply. The Log reports what was measured, and a new image,
<image>_glow, holds what was subtracted. - Compare the result with the original under the same, strong screen stretch: around the bright stars the glow should be gone and the background should look like the background elsewhere. If it comes out darker around a bright star, undo, raise Bright star protection and apply again.
3Interface & Parameters
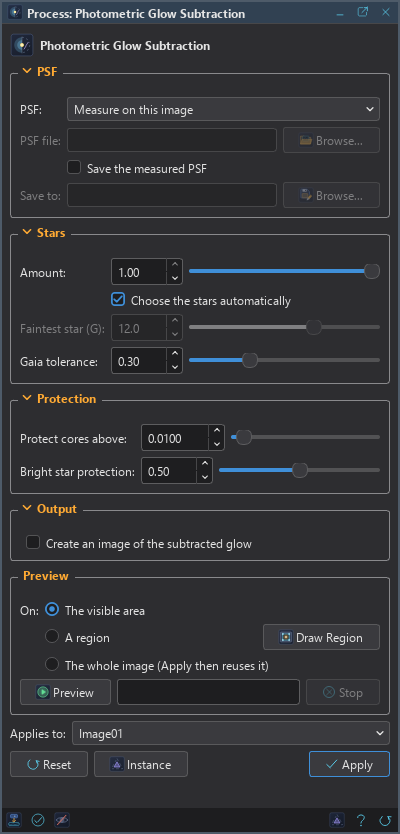
The panel has four sections, PSF, Stars, Protection and Output, then the Preview box, the image the panel applies to and the buttons.
3.1PSF
PSF: Where the shape of the glow comes from:
- Measure on this image: from the image's own stars. The choice for a field of galaxies, faint dust or ordinary stars in front of an empty sky. The default.
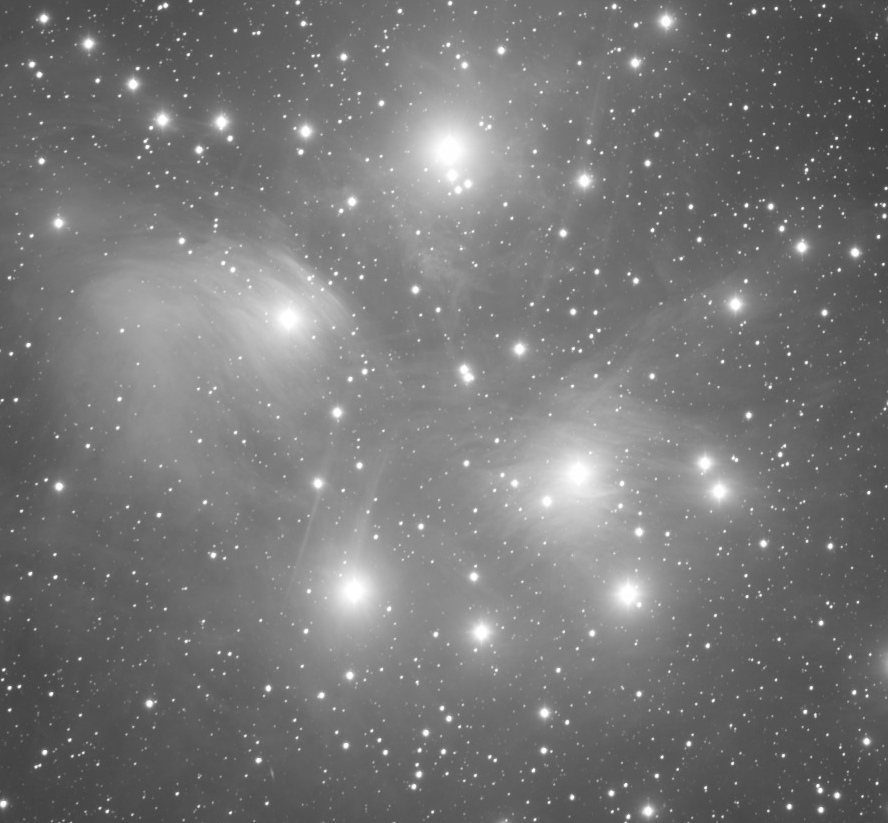
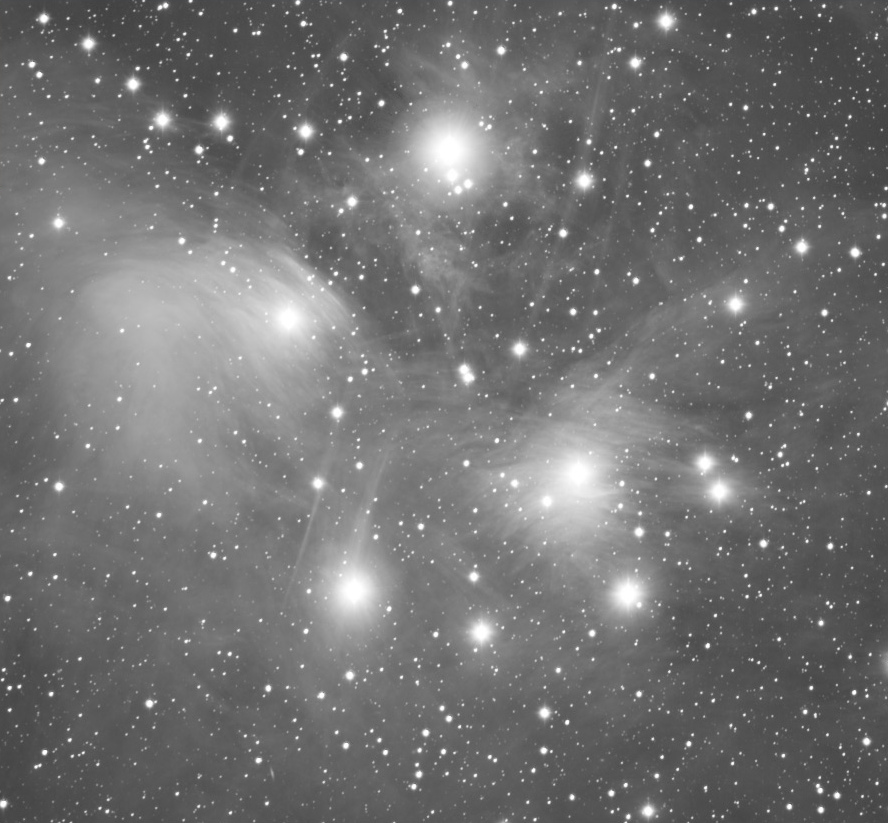
- Load from file: a PSF measured earlier on another image taken with the same telescope, camera and filter. The choice when the bright stars sit in nebulosity (the Pleiades), where glow and nebula cannot be told apart, or when the image has too few stars. See Saving and Loading a PSF.
PSF file: The PSF file to load (.pgspsf), with Browse... to choose it. Used
with Load from file.
Save the measured PSF: Writes the PSF measured on this image to a file, to load it later on another image taken with the same equipment. The best image to measure it on has many bright stars and no nebulosity around them.
Save to: The file the measured PSF is written to, with Browse... to choose it.
3.2Stars
Amount: How much of the measured glow is subtracted, from 0, nothing, to 1, all of it (the default). Everything subtracted is scaled alike, so Amount changes how much, never where. We lower it when the result is a little too dark around the stars.
Choose the stars automatically: On (the default), the glow of every star whose glow shows above the noise of the image is subtracted. Off, Faintest star (G) sets the limit.
Faintest star (G): The faintest Gaia G magnitude whose glow is subtracted when the stars are not chosen automatically, from 4 to 16 (default 12). Set to the magnitude of the few brightest stars, it removes only their glow. It does not change which stars are measured: the shape of the glow and the brightness scale always come from every star that shows them.
Gaia tolerance: Each star's brightness is predicted from its Gaia magnitude and color, then adjusted on the image. This is how far, in magnitudes, the adjustment may make a star brighter than predicted (default 0.30); 0 uses the Gaia prediction alone. It is what keeps a star in front of a nebula from being over-corrected: the nebula adds light around the star, which is then taken for brighter than it is. We lower it when such a star is over-corrected, and raise it when stars keep part of their glow.
3.3Protection
Protect cores above: A surface brightness, in the units of the image (0 to 1), above which a star is left alone: what is subtracted from one star does not exceed it, so the stars stay and only their glow goes. The default is 0.0100, and useful values usually lie between 0.001 and 0.01. Lower leaves more of each star untouched, and takes less of the glow nearest the stars; higher subtracts closer to the cores.
Bright star protection: The very bright stars have far more glow than Protect cores above allows, so for each star the level left alone grows with its own brightness. This is how much of that growth is held back, from 0 to 1 (default 0.50). At 0 the glow of the brightest stars is subtracted as far in as the star allows; at 1 every star keeps the fixed level. We raise it when the brightest stars are over-corrected, with darker areas around them.
3.4Output
Create an image of the subtracted glow: Also makes a new image, <image>_glow,
with exactly what was subtracted: the original is the result plus this image. It is the place to look when something in
the result is not right.
3.5Preview, Apply and Instance
Preview: Shows the result over the image without changing it, on The visible area, on A region drawn with Draw Region, or on The whole image, which Apply then reuses. A preview runs only when we click Preview, with Stop beside it, since it reads the star catalogs. On a part of the image the glow is measured on the stars of that part, so the whole image is the faithful preview: the glow anywhere in the frame comes from stars all over it.
Applies to: The image the panel works on: the image in front, or another open image picked in the list, which stays the panel's until Follow Active goes back to the image in front.
Apply: Subtracts the glow from the image: one history step, undone like any other. While it runs, the panel shows its progress and Cancel. The system bar along the bottom of the panel has Apply too, and drag to apply at its left: dragged onto any image window, it applies the panel's settings to that image.
Instance: Opens a window with the process as the panel has it now, as text, in DSPX's
format (.dsproc) or as a PixInsight process icon (.xpsm) that PhotometricGlowSubtraction's
PixInsight module opens. Copy puts the text on the clipboard; Save... saves it as a file and puts it on the
Process Shelf.
Reset: Puts every setting back to its default.
4How It Works
4.1What an Image Needs
- An astrometric solution. Every star is found through it. A solution with or without a distortion model will do: the positions are checked against the stars of the image and corrected.
- The star catalog. The stars come from DSPX's Gaia DR3 catalog files, or from the online catalog for what the files do not hold (). The very brightest stars of the sky, which Gaia does not measure, are added from a Hipparcos table built into the program, and the Log lists them.
- A linear image, as it comes from integration or after operations that keep it linear. The glow is a physical amount of light, and after a stretch it no longer is.
- Stars whose glow shows above the noise, when the PSF is measured on the image; five or more give a sound PSF. A gray image and an RGB image are both accepted; an RGB image is measured and corrected channel by channel, each with its own PSF and brightness scale. An image smaller than 256 pixels on a side is refused.
4.2The Shape of the Glow
Around each catalog star, the median light is measured in rings, from the core out to tens of arcminutes, with the other stars masked and the glow of the star's neighbors taken out. A ring where the star is saturated is not used. Each profile is scaled by its star's brightness and the profiles are combined, ring by ring, into one: the extended PSF. The brighter a star, the more its rings count, since the bright stars are the ones that show the outer glow at all. The very brightest stars of a field get a profile of their own where they depart from the shared one.
4.3Each Star's Brightness and Place
How much glow a star has is read from its Gaia G magnitude and BP-RP color, through a zero point and a color term fitted on the image's own stars, then adjusted on the star itself, within the Gaia tolerance. Stars outside the frame take the catalog's value. If the image's stars do not follow the catalog at all, the run stops with a message rather than draw glows where there are no stars.
A glow drawn a few pixels beside its star leaves its glow on one side and a dark hole on the other, so the positions are checked before anything is measured: outside the frame each star is placed with the solution's linear part; inside, the bright unsaturated stars are found near their catalog positions and a smooth correction of the solution is fitted to the differences and applied to every star. Each star is then moved onto its own center.
4.4What Is Subtracted, and What Is Left Alone
Each star's glow is drawn and the glows of all the stars are added up and subtracted. Three things limit what a star loses: its core (nothing above the protection levels is taken), its own light (around a star measured to its far rings, the glow drawn is never more than the light measured there, which keeps dark areas from being dug), and its edge (each glow fades out at the end of its radius). The core of each star stays as it was, so its FWHM and centroid do not change, but the star is more compact: photometry with apertures that reach into the wings reads less afterwards.
To measure the stars, a smooth polynomial is fitted to the background. It is part of the measurement only and is never applied: the image keeps its own background and gradients, for the gradient tool of our choice.
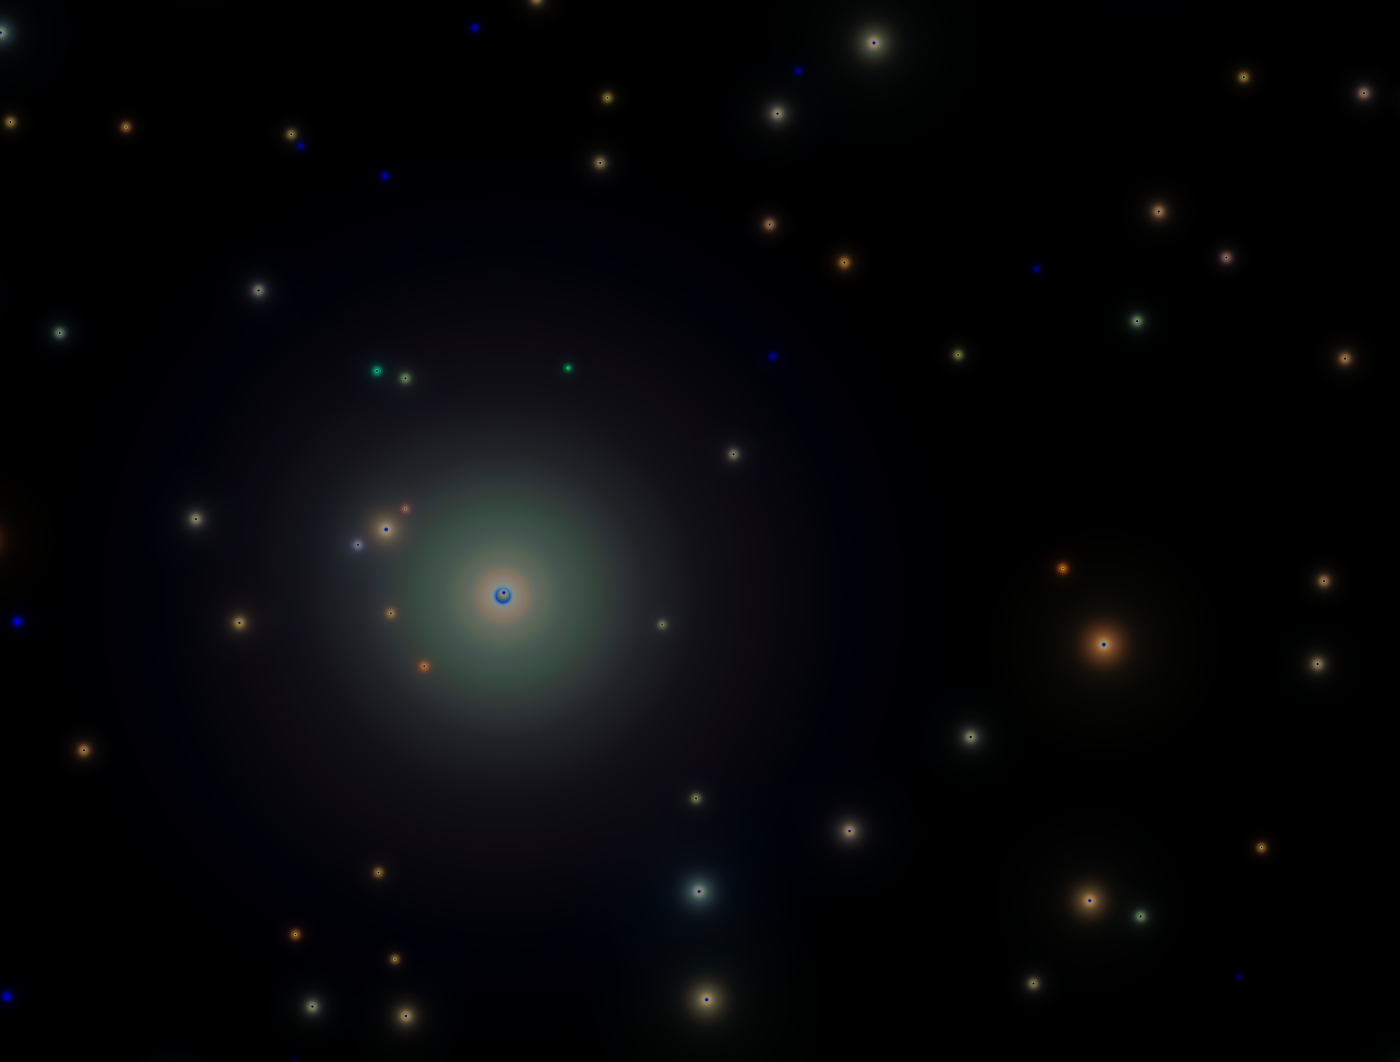
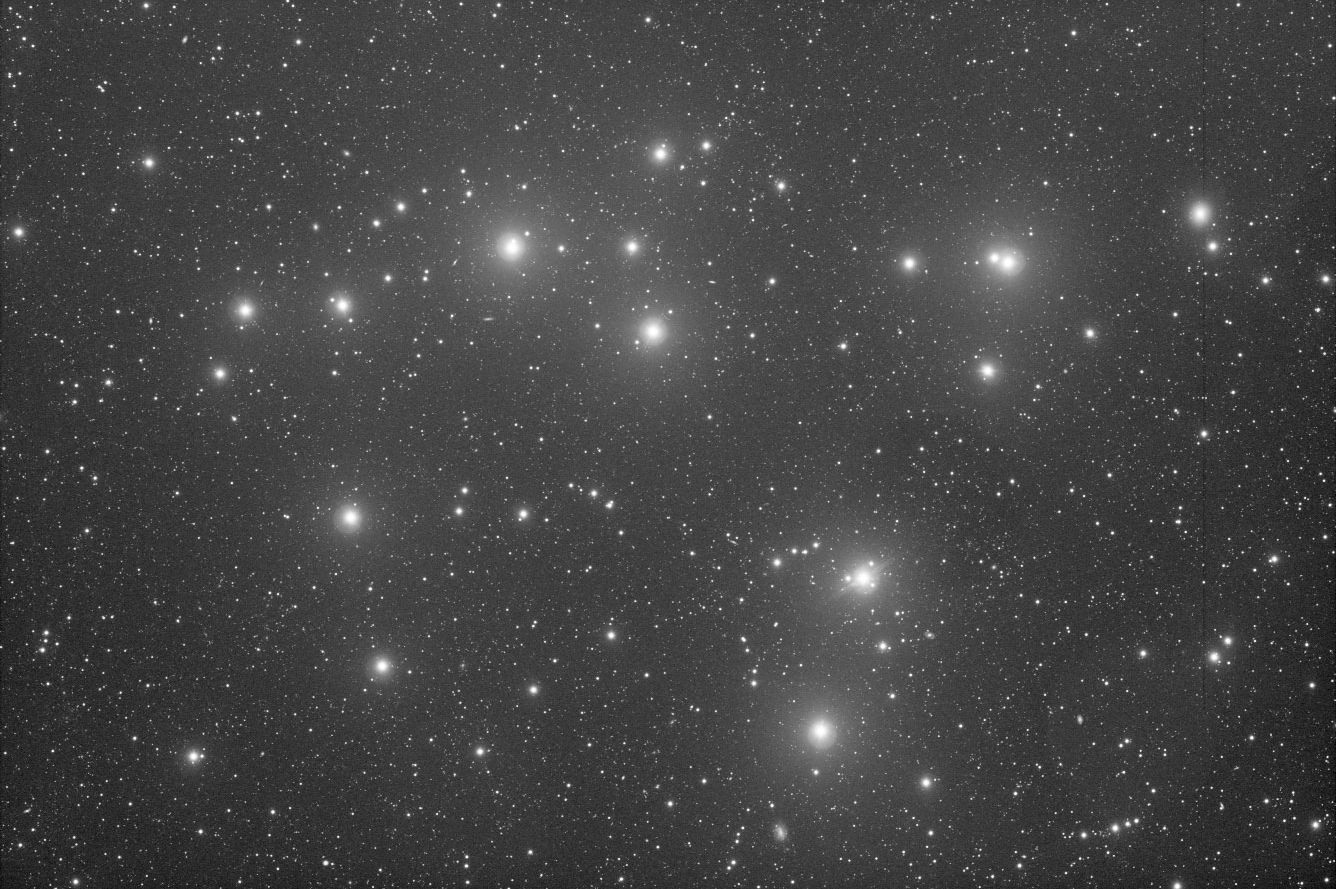
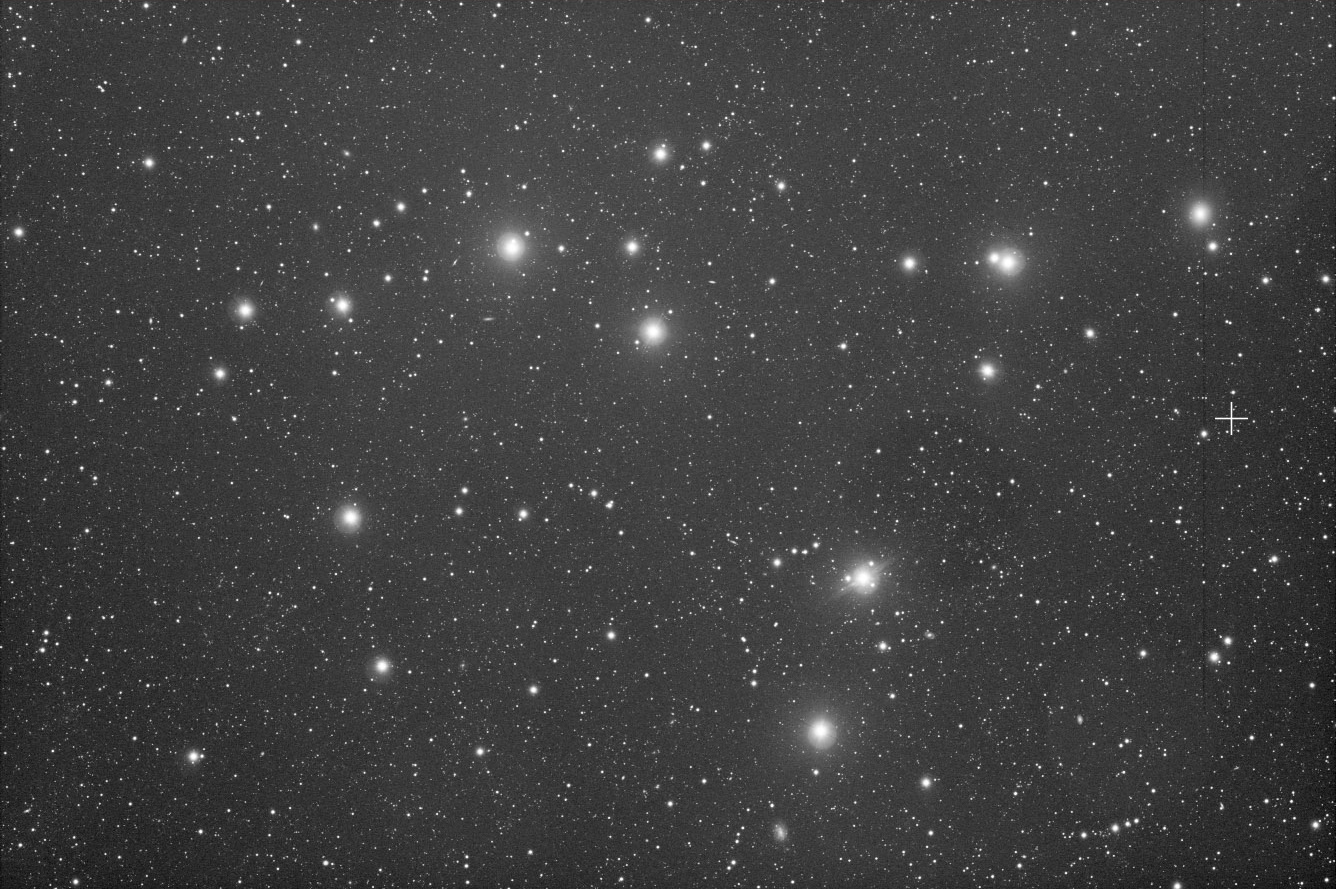
5Reading the Log
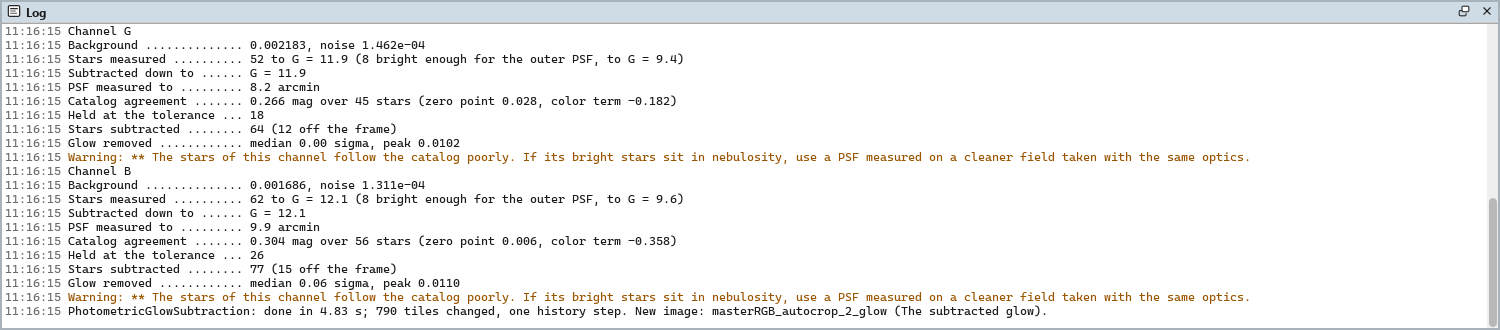
Every run reports what it found, channel by channel for an RGB image:
| Line | What it says |
|---|---|
| Image scale | Arcseconds per pixel. At coarse scales the glow of most stars covers only a few pixels, and a warning says to expect little. |
| Gaia DR3, Hipparcos | How many catalog stars were found in and around the frame, to what magnitude, and the bright stars Gaia lacks. |
| Star positions | How many stars the correction of the solution was fitted on, and how far it moved them. |
| Background | The level of the background and its noise. |
| Stars measured | How many stars were measured, to which magnitude, and how many are bright enough for the outer PSF. |
| Subtracted down to | The faintest magnitude whose glow was subtracted. |
| PSF measured to | How far out the PSF is known, and how much further the brightest stars carry it. |
| Catalog agreement | How closely the stars follow their Gaia prediction, in magnitudes. Below 0.15 is typical of a clean field; above 0.2 a warning follows. |
| Held at the tolerance | How many stars wanted more adjustment than the Gaia tolerance allows. |
| Stars subtracted | How many stars lost their glow, and how many of them are off the frame. |
| Glow removed | The median of what was subtracted, in units of the noise, and its highest value. |
| Held to own light | How many stars were held to the light measured around them. |
6Saving and Loading a PSF
Some fields cannot give a clean PSF of their own: around the Pleiades the reflection nebula is brightest right around the bright stars, and a field with few stars or a short exposure may not show enough glow at all. The glow is a property of the optics, not of the field, so a PSF measured on one image serves another taken with the same telescope, camera and filter:
- Open an image of a field with many bright stars and nothing else around them, taken with the same equipment.
- Turn on Save the measured PSF, choose the file under Save to, and apply.
- On the difficult image, set PSF to Load from file, choose that file under PSF file, and apply. Only the brightness scale is then measured on the image, which needs a few stars at most.
The PSF is stored against the radius in arcseconds, so it serves images of another binning or crop too. A
.pgspsf file is plain text, and the same file works in PhotometricGlowSubtraction's PixInsight module.
7Usage Tips and Tricks
Early in processing. On the linear master, before gradient correction and before any stretch: once the glow is gone, the background tools see the real background.
Darker around a bright star. The star lost more than its glow. Raise Bright star protection; if it is already near 1, lower Protect cores above, the Gaia tolerance or the Amount.
Bright stars keep part of their glow. The opposite: lower Bright star protection, or raise Protect cores above or the Gaia tolerance.
A dark spot on one side of a star, glow on the other. The glow was drawn beside its star; the glow image shows where. The astrometric solution is far off there: solve the image again.
The nebula around a bright star got darker. Near a star, nebula and glow look alike. Use a PSF measured on a cleaner field, and lower the Gaia tolerance.
Read the warnings. "The stars of this channel follow the catalog poorly" means bright stars in nebulosity, or a solution that does not fit; "too few measurable catalog stars" means the image is too shallow or not linear. A single subframe is rarely deep enough: an integrated master is.
8Related Tools
Plate Solve: gives the image the astrometric solution the process needs.
Background Extraction: gradient correction, best applied after Photometric Glow Subtraction, once the star glow is no longer part of the background.
Survey Overlay: a dust map of the field shows whether the faint structure the glow uncovered is real.
Deep Star Removal: removes the stars themselves, when we want a starless image rather than stars without their glow.