
Linear Fit
One image's levels matched to another's, channel by channel
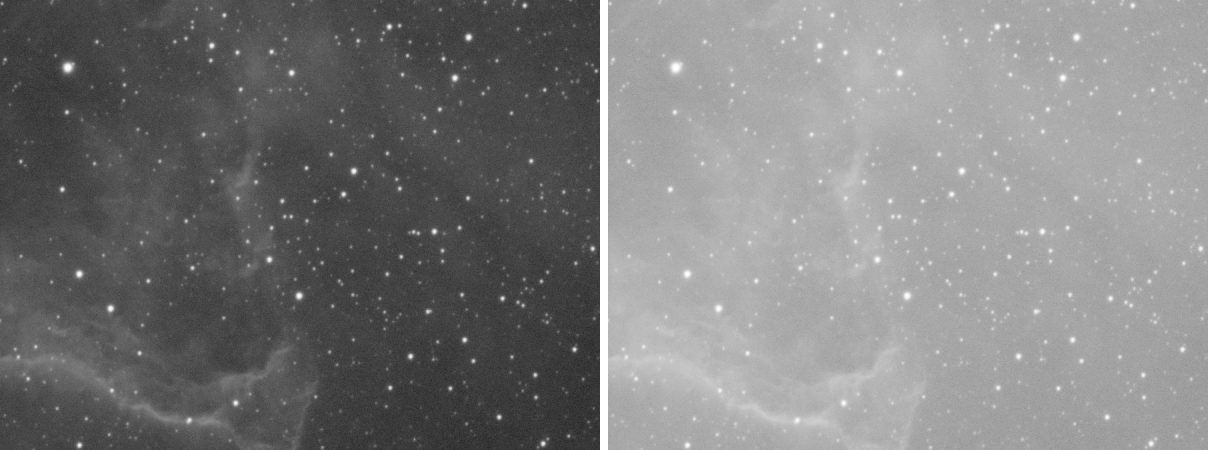
Linear Fit makes an image's levels match those of a reference image of the same field: for each channel it finds the straight line that best takes the image's values to the reference's, and applies it. We use it to bring narrowband masters to the same brightness before they are combined, SII and OIII to Ha, and to match two versions of one image before they are blended or compared.
1Introduction
Two linear images of one field differ, at the same pixel, by a scale and an offset: a longer exposure, another filter, another sky. Linear Fit pairs each sample of the image, x, with the reference's at the same pixel, y, and finds the line y = a + b x that minimizes the mean absolute deviation of the pairs. Each sample of the image then becomes a + b x, truncated to the range from 0 to 1. A color image is fitted channel by channel to a color reference; alpha channels are left as they are.
The line of the least absolute deviation, unlike the least squares line, is not pulled by a few pairs far from it: stars that are brighter in one filter, a satellite trail, a nebula that shines in Ha and not in SII. Only pairs where both samples are inside the sampling interval count, between Reject low and Reject high: black edges and saturated stars are left out.
Linear Fit is our own code, with PixInsight's parameters: a PixInsight icon of LinearFit opens here, and the panel saves one that PixInsight opens. The line is computed by PCL's single precision engine, the one PixInsight's LinearFit runs, and applied as PixInsight applies it: on the test pairs, every sample is the same as PixInsight's, bit for bit. It works the same way in both of DSPX's modes.
2Quick Start
- Open the image and its reference, registered onto each other, so they have the same size.
- Bring the image to fit to the front, and choose .
- Choose the Reference image. With the live preview (the eye) on, the fitted image shows at once.
- Click Apply. The Log has each channel's line.
3Interface & Parameters
The panel has one section, Reference, which folds away with the arrow beside its title. Under it are the image the process applies to with the live preview's eye, the buttons and the system bar along the bottom.
3.1Reference
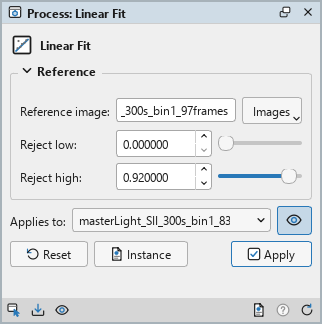
Reference image: The open image to match, by its name: another image of the same size, and color if the image is color. Images, beside the field, lists the open images to pick one. Until one is chosen, the field says None, the panel asks for it and Apply does not start.
Reject low: The sampling interval's lower end, from 0 to 1: pairs where either sample is at or below it are left out of the fit. 0 by default, which leaves out pure black.
Reject high: The sampling interval's upper end, from 0 to 1: pairs where either sample is at or above it are left out, saturated stars among them. 0.92 by default. It must be above Reject low.
3.2Apply, Preview and Instance
Live preview (the eye): At the end of the Applies to row; Preview in the system bar is the same switch. On by default. The image shows Linear Fit applied to the part in view, with the banner "PREVIEW only, nothing applied"; the image itself does not change until Apply. The line is always fitted on the whole image and the whole reference, so the preview at any zoom is exactly what Apply gives there. It is fitted again only when the reference or a limit changes. Before, in the banner, or the backslash key held, shows the image as it is.
Applies to: The image Linear Fit works on, chosen in a list of the open images. It shows the image in front, and follows it as we bring other images to the front. Picking another image in the list makes the panel work on that one, its live preview included, without bringing it to the front; the pick stays while we work on other images, and Follow Active, the small button that appears beside the list, makes the panel follow the image in front again. An image that a tool or a run is working on is listed, but cannot be picked.
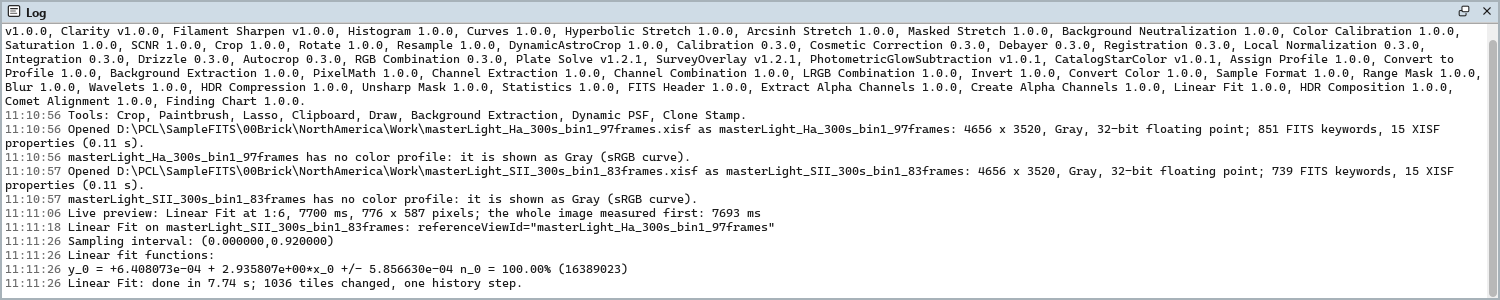
Apply: Fits the image named in Applies to and applies the lines, in one history step that Undo takes back, through the image's mask if it has one. The size, the sample format, the metadata and the astrometric solution stay as they are. The Log gives the sampling interval and, for each channel, its line, the mean absolute deviation and the share of the samples fitted.
Instance: Shows the process as the panel has it now, as text: the settings as a DSPX
process (.dsproc) or as a PixInsight process icon (.xpsm) of LinearFit, chosen under
Format. Copy puts the text on the clipboard; Save... saves it as a file and puts it on the Process
Shelf.
Reset: Puts every setting back to its default.
The system bar along the bottom of the panel has the same commands as small icons: at the left, drag to apply and Apply; at the right, Instance, Help (this page) and Reset. Drag to apply, the first icon, carries the process with its settings: dropped on an image's window, it fits that image to the reference, whatever image the panel works on; dropped on the Process Shelf, it is kept there as a row of its own. With , the bar alone has them.
4The Fit and What Is Refused
The samples are read as 32-bit floating point numbers, whatever the images' formats. The line is found by least
squares first, then moved to the line of the least absolute deviation by bracketing and bisecting its slope. The Log
writes each line as PixInsight's console does, for instance y_0 = +3.701525e-03 + 9.324581e-01*x_0 +/-
2.189831e-03 n_0 = 99.31% (10635191): the intercept, the slope, the mean absolute deviation, and how many pairs
were in the interval.
The run stops and says why when the reference is the image itself, is not open, or has another size or another number of channels; when fewer than three pairs of a channel are in the interval; or when Reject low is not below Reject high. A gray reference for a color image is refused, as PixInsight refuses it: convert one of the two first.
Linear Fit can be a process layer, and a step of a process container. The guided workflows that fit narrowband masters to each other run it.
5Usage Tips and Tricks
Fit while linear. The line describes how two linear images differ. Fit masters before any stretch, and before gradient removal changes one of them and not the other.
Fit to the strongest. For a narrowband combination, fit the weaker masters to the strongest one, usually Ha: the brighter reference has the cleaner signal.
Lower Reject high for bright stars. If the field has many bright, bloated stars, a Reject high of 0.8 or less keeps their halos out of the fit.
Compare before blending. Two versions of one image, a starless and its original, or two nights' masters, are easier to blend or judge once one is fitted to the other.
6Related Tools
Channel Combination and RGB Combination: the fitted masters combined into one color image.
Pixel Math: any other combination of the masters, once their levels match.
Background Neutralization: matches the background of a color image's channels to each other.
Statistics: the levels and the noise of each master, before and after.