
Clipboard
Copy any region, place it anywhere, blend it in
The Clipboard copies a region of an image, of any shape we draw or the image's own selection, and pastes it into the same image or any other: placed with the mouse or by numbers, turned, scaled, and blended with the pixels beneath through an operator, an opacity and a feathered edge. Every paste is one history step. We use it to repair a defect from a clean area nearby, to bring a structure from one version of an image into another, or to make a new image of just the part we need.
1Introduction
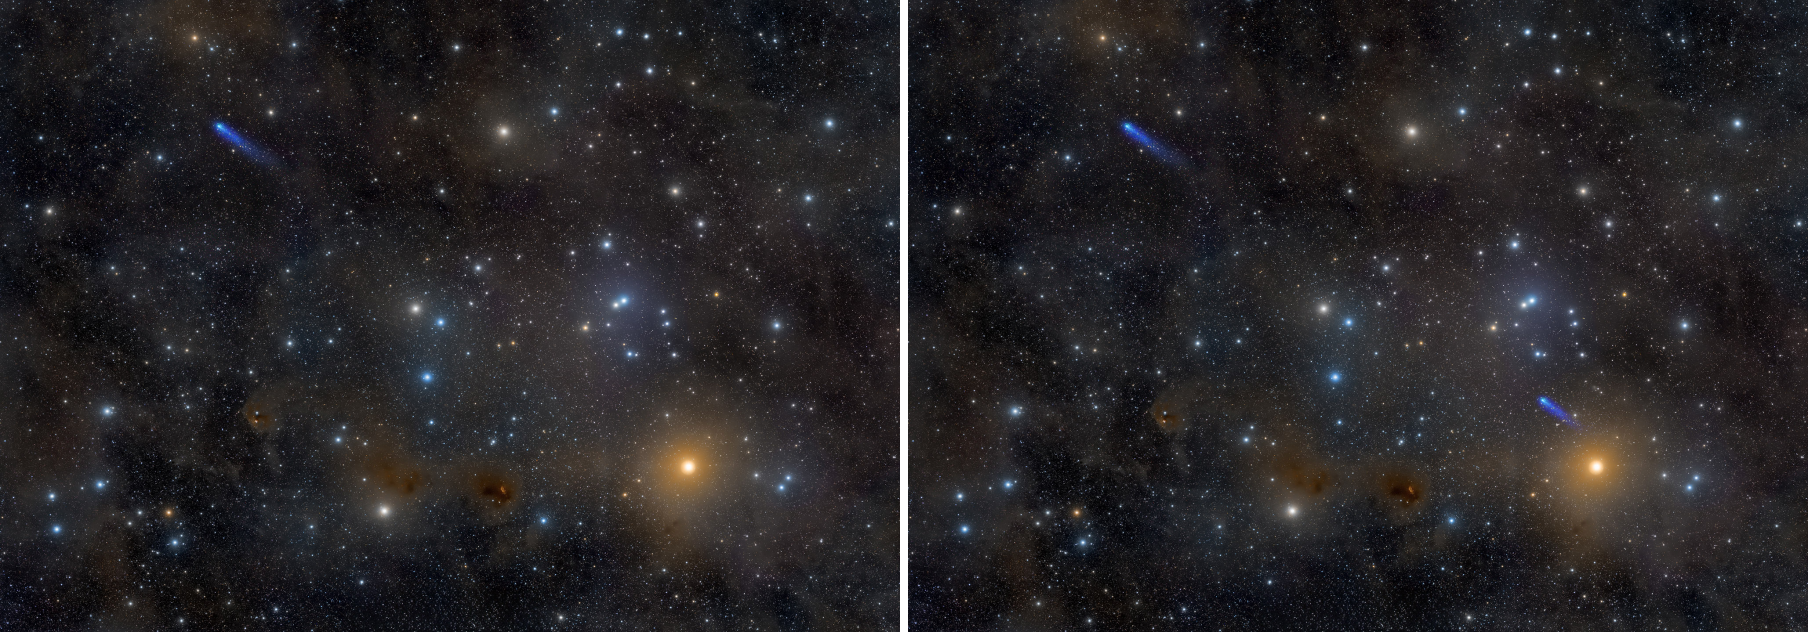
The Clipboard works in two modes, as the PixelClipboard module does. In Select mode we choose what to copy, drawing with the same shapes as the Selection tool: freehand, rectangle, ellipse, polygon and magic wand, added to or subtracted from one another. Copy stores the pixels inside, every channel, together with the shape of the selection, so a pasted ellipse stays an ellipse. In Place mode a click puts that block down on an image, where we move it, turn it by a corner, resize it by a side, or type its position, angle and scale. Paste writes it into the image.
What we copy stays on the clipboard for as long as DSPX is open, so one copy can be pasted many times, into as many images as we like. The block keeps its original samples: a copy from a 32-bit floating point image pastes those values, not what the screen shows. Copying never changes the image it comes from.
2Quick Start
- Open the image and click Clipboard on the tools toolbar (or ). The panel opens in Select mode.
- Choose a shape under Draw and drag on the image around what we want to copy. With no shape drawn, Copy takes the image's selection, or the whole image when it has none.
- Click Copy. The block appears under Clipboard, and the panel switches to Place mode.
- Click on an image, the same or another, to put the block down. Drag it into place; drag a corner to turn it, a side to resize it.
- Choose the Operator and, for a soft edge, a Feather.
- Click Paste, or press Return over the image. The paste is one history step, undone with Ctrl+Z.
3Interface & Parameters
The panel starts with the tool's name, whose tooltip says what the Clipboard does and how to use it, and the image the session is on. Under it, Select and Place choose the mode. Each mode shows its own controls, the Selection box or the Paste box, and both show the Clipboard box with what was copied.
Select: Select mode: drawing on an image chooses the region the next copy takes. The session is on the image the shapes are on.
Place: Place mode: a click on an image puts the clipboard's block down. Available once something was copied. Tab over the image switches between the two modes.
3.1The Selection Box
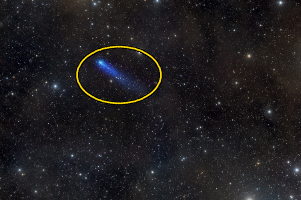
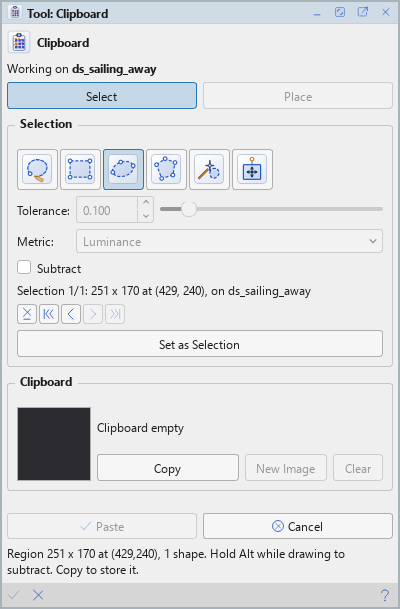
Draw: How the next shape is drawn: Freehand (drag), Rectangle (drag corner to corner; Shift makes a square), Ellipse (drag its box; Shift makes a circle), Polygon (a click a vertex; Return closes it, Esc gives it up) or Magic wand (a click selects the connected area similar to the pixel clicked).
Wand: For the magic wand: the tolerance, how far a pixel may differ from the one clicked and still join the region (0 to 1), and the metric beside it, Luminance or RGB (the largest difference of the three channels).
Subtract: New shapes cut from the selection instead of joining it. Alt, held as a shape starts, does the opposite for that shape.
Move / Rotate / Resize: Puts a frame with handles on the most recent shape: drag inside to move it, a corner to turn it, a side to resize it. Drawing waits meanwhile. A magic wand region cannot be moved.
The line under them says what the selection is: "Selection 1/1: 250 x 170 at (430, 240), on ds_sailing_away" is one shape in force out of one drawn, its bounding box and the image it is on.
Delete: Drops the most recent shape for good.
|<: Undoes every shape.
<: Undoes the most recent shape (Ctrl+Z over the image).
>: Brings back the last shape undone (Ctrl+Y over the image).
>|: Brings back every shape undone.
Set as Selection: Makes the shapes the selection of the image they are on, as one history step. The Clipboard draws selections as well as the Selection tool does, so this saves a trip to the other tool.
3.2The Clipboard Box
A picture of the block as its image was shown, its source image, its size, sample type and channels, whether it is shaped by a selection, and the rectangle it came from.
Copy: Stores on the clipboard what the tool's shapes select; with no shape, what the selection of the image in front selects; with no selection either, that whole image. Every channel is copied, with the selection's coverage. It changes nothing in the image.
New Image: Makes a new image of the block. The shape of the selection, feathered as a paste would feather it, becomes its alpha channel, so a block copied with an ellipse is an ellipse on a transparent ground.
Clear: Empties the clipboard.
3.3The Paste Box
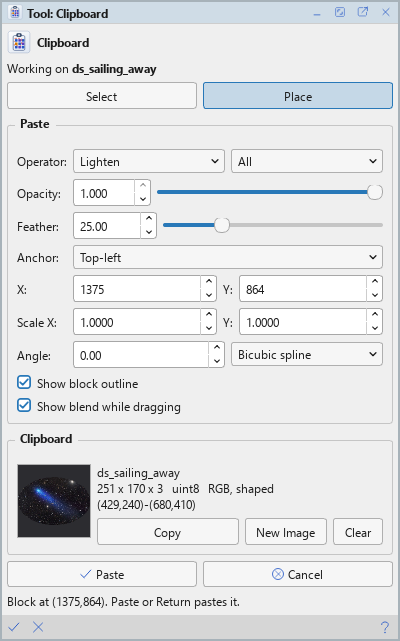
Operator: How the block combines with the pixels beneath it. Normal replaces them; Lighten and Darken keep the brighter or the darker of the two; Add, Subtract, Multiply, Pow and Difference are the arithmetic operators; ColorBurn, LinearBurn, Screen, ColorDodge, Overlay, SoftLight, HardLight, VividLight, LinearLight, PinLight and Exclusion are the usual blend modes; Or, And, Xor, Not, Nor, Nand and Xnor work on the bits of integer samples, and are refused on floating point images. The list beside it chooses the channels: All, or one channel alone.
Opacity: How much of the operator's result is written: 1 replaces, 0 leaves the image as it is.
Feather: Softens the block's edge over this many pixels, inward, so it fades into the image instead of ending at a line.
Anchor: What X and Y refer to: the block's Top-left corner or its Center. Changing it leaves the block where it is; only the numbers change.
X: The block's horizontal position in the image it is on, in pixels. Y, beside it, the vertical one.
Scale X: The horizontal scale factor; Y, beside it, the vertical one. Shift while dragging a side keeps the block's proportions.
Angle: The rotation in degrees about the block's center. The list beside it is the interpolation used when the block is turned or scaled: Nearest, Bilinear, Bicubic spline (the default) or Lanczos-3. Nearest is the one for masks and label images, which must not be interpolated.
Show block outline: Draws a frame and its handles around the placed block. Without it the block has no handles to drag, which helps to judge the blend.
Show blend while dragging: Computes the paste's blend continuously as the block moves, so what we see is what Paste writes. Off, the plain block follows the pointer and the blend appears when we let go: lighter on a large block.
3.4Paste and Cancel
Paste: Writes the block into the image it is placed on, through that image's mask when it has one: one history step with the pixels under the block, or none when no pixel changed. A block hanging over an edge is pasted as far as it reaches. After a paste the block is dropped and the image let go, so Ctrl+Z right after it is the image's own undo, and takes the paste back. The clipboard keeps its block for the next paste.
Cancel: Drops the shapes and the placed block and ends the session. It never takes back a paste already made, and it leaves the clipboard as it is.
The bar along the bottom of the Tool panel has Paste (the check mark) and Cancel (the cross) on the left and Help on the right. The line under the buttons says what the last action did, such as what was copied or where the block is.
4Working With the Clipboard
4.1Placing the Block
Placing is always a deliberate click: the block does not follow the pointer until we put it down. Once placed, we drag it, nudge it with the arrow keys, turn it by a round corner handle or resize it by a square side handle; a block both turned and scaled is resampled once, not twice. Delete removes the block from the image, and Return pastes it. One block is placed at a time: a click on another image moves it there.
4.2The Session Follows the Mode
In Select mode the session is on the image the shapes are on; in Place mode, on the image the block is on. While a session is open the image is held: it cannot be closed or processed until we paste or cancel. In Select mode, Ctrl+Z and Ctrl+Y undo and redo one shape; in Place mode they do nothing, since the block is not yet part of the image.
4.3Selections and Masks
The Clipboard starts from the selection the image already has: drawing more shapes adds to it or cuts from it, and Copy with no shape takes it as it is. The paste itself goes through the image's mask, as a painting does, but not through its selection: the selection limits processes, and a paste is placed by hand where we want it.
5Usage Tips and Tricks
Repair from nearby. A satellite trail or a dust spot in the sky is covered well by a patch of clean sky copied from right next to it, pasted with Normal and a feather of several pixels so no edge shows.
Lighten for bright structures. Lighten brings in only what is brighter than the image beneath: stars, a galaxy, a bright knot, without darkening the background around them.
Turn and scale in one go. Typing Angle and the two scales together resamples the block once, which keeps it sharper than turning and scaling it in two pastes.
Copy once, paste often. The block stays on the clipboard after a paste; another click places it again.
A cutout as its own image. New Image makes the block an image with the selection's shape as alpha, ready to save or to use as a layer.
6Related Tools
Selection: draws the same shapes to set the image's selection, which limits processes.
Draw: paints shapes of a color, instead of copying pixels.
Paintbrush: for small repairs painted by hand.
Crop: keeps a region of the image as the whole image, turned by any angle.