Selection
Selections drawn by hand, feathered, one step at a time
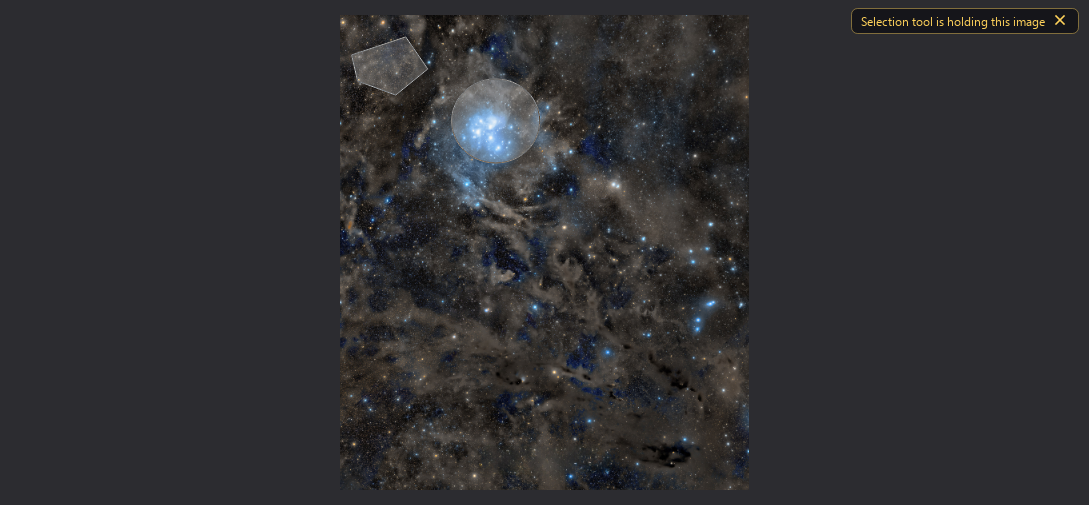
The Selection tool draws the image's selection by hand: freehand shapes, rectangles, ellipses, polygons and magic wand regions, added to or subtracted from one another, each with its own feather and its own contraction or expansion. Once set, the selection limits every process we apply to the image, and it can also become a mask image in the same action. We reach for the Selection tool whenever the area we want is easier to point at than to describe by its brightness or its stars.
1Introduction
Many adjustments belong to one part of an image only: a galaxy and not the sky around it, a nebula and not the stars, a foreground and not the Milky Way above it. The Selection tool lets us trace that part directly on the image. Each shape we draw is a step of its own, kept in the tool's history, so we can add regions, cut bites out of them, soften their edges and go back on any of it before we commit.
The Selection tool is the interactive side of DynamicLasso, the same engine as the PixInsight module, but its result is different. In DSPX an image has a selection of its own, and the Selection tool works on it: a session starts from the selection the image already has, and Set Selection makes the steps the image's new selection. A process applied afterwards changes only what the selection selects, softly where it is feathered, and leaves every other pixel exactly as it was. The mask image the PixInsight module makes is one option away, and so is attaching it as the image's mask.
2Quick Start
- Open the image and click Selection on the tools toolbar (or ). The Tool panel shows the Selection tool's controls.
- Choose the way of drawing under Draw (Freehand, Rectangle, Ellipse, Polygon or Magic wand) and, if we want soft edges, a Feather radius.
- Draw on the image. The first shape starts the session on that image; every shape after it adds to the selection. Hold Alt as a shape starts to subtract it instead.
- Click Set Selection (or the check mark on the panel's bottom bar). The steps become the image's selection: one history step.
- Open any process and apply it: it acts inside the selection only.
3Interface & Parameters
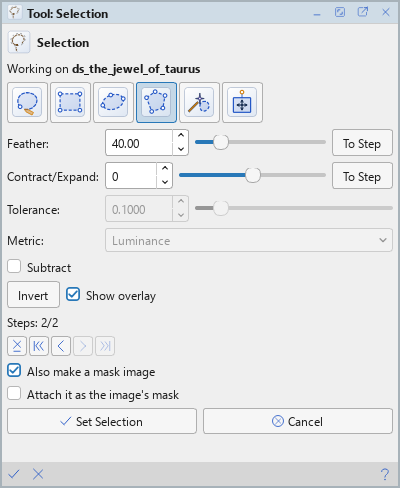
The panel starts with the tool's name and the image the session is on ("Working on M45", or "No image yet: click on one."). Pointing at the name shows what the Selection tool does and how to use it, keys included. The drawing controls follow, then the step history, the mask options and the buttons that end the session.
3.1Drawing
Draw: How the next step is drawn:
- Freehand: we drag to trace any shape; releasing the button closes it.
- Rectangle: we drag from one corner to the opposite one; Shift makes a square.
- Ellipse: we drag the box the ellipse fits in; Shift makes a circle.
- Polygon: we click each vertex. A double click, Return or a click on the first vertex closes it; Backspace drops the last vertex and Esc gives the polygon up.
- Magic wand: one click selects the connected area of pixels similar to the one clicked, as Tolerance and Metric say.
Feather: The softness of the edges of new steps, as the radius (sigma) of a Gaussian, in pixels, from 0 (a hard edge) to 250. Each step keeps the feather it was drawn with.
To Step: Each of Feather and Contract/Expand has one. It gives the value in the field to the current step, the last one in the history, so a step already drawn can be made softer or harder, wider or narrower. It is not a step of its own: undoing the step undoes the change with it.
Contract/Expand: Grows or shrinks new steps by this many pixels before they are feathered: negative values contract, positive values expand, from −50 to 50. Like Feather, each step keeps its own.
Tolerance: For the magic wand: how much a pixel may differ from the one clicked and still join the region, from 0 to 1. Low values keep the region to nearly the same tone; values above 0.3 are rarely needed.
Metric: For the magic wand: how two pixels are compared. Luminance compares their brightness; RGB takes the largest difference of the three channels, which follows color as well.
Subtract: New steps cut from the selection instead of adding to it. Holding Alt as a step starts does the opposite of this setting for that one step, so we rarely need to tick it.
Preset handle: The Selection icon at the end of the Subtract row. Dragged onto a LaunchPad, it makes a button that selects the Selection tool with these settings: the way of drawing, Feather, Contract/Expand, Tolerance, Metric and Subtract. See LaunchPads.
Move / Rotate / Resize: Puts a frame with handles on the current step: we drag inside it to move the step, a corner to turn it, a side to resize it. Drawing is off while it is on. With no session open, it starts one from the selection of the image in front, with the frame on its last drawn step, so a selection set earlier can be moved or turned without drawing it again. A magic wand region and an Invert step cannot be moved.
Invert: Adds a step that turns the selection around: what was selected is not, and what was not is. Steps drawn after it add to or subtract from the inverted result.
Clear: Removes the selection of the image in front, as does (Ctrl+D): one history step. It is enabled while that image has a selection. With Freehand, Rectangle or Ellipse, a click outside the selection does the same; a click inside it, the magic wand's click and a polygon's click do what they always do.
Show overlay: Shows the steps over the image. We turn it off to look at the image itself for a moment.
3.2The Step History
Under the drawing controls, a line counts the steps: "Steps: 2/2" is two steps in force out of two drawn; after an undo, "Steps: 1/2". It says "A polygon is being drawn" while a polygon is open. The buttons below it travel the history:
Delete: Drops the current step for good, leaving the others as they are.
|<: Undoes every step.
<: Undoes the last step, or the last move of it (Ctrl+Z over the image).
>: Redoes the last step undone (Ctrl+Y over the image).
>|: Redoes every step undone.
Traveling the history also sets Feather and Contract/Expand to the values of the step it lands on, which is how we reach an older step to change it with To Step.
3.3Set Selection and Cancel
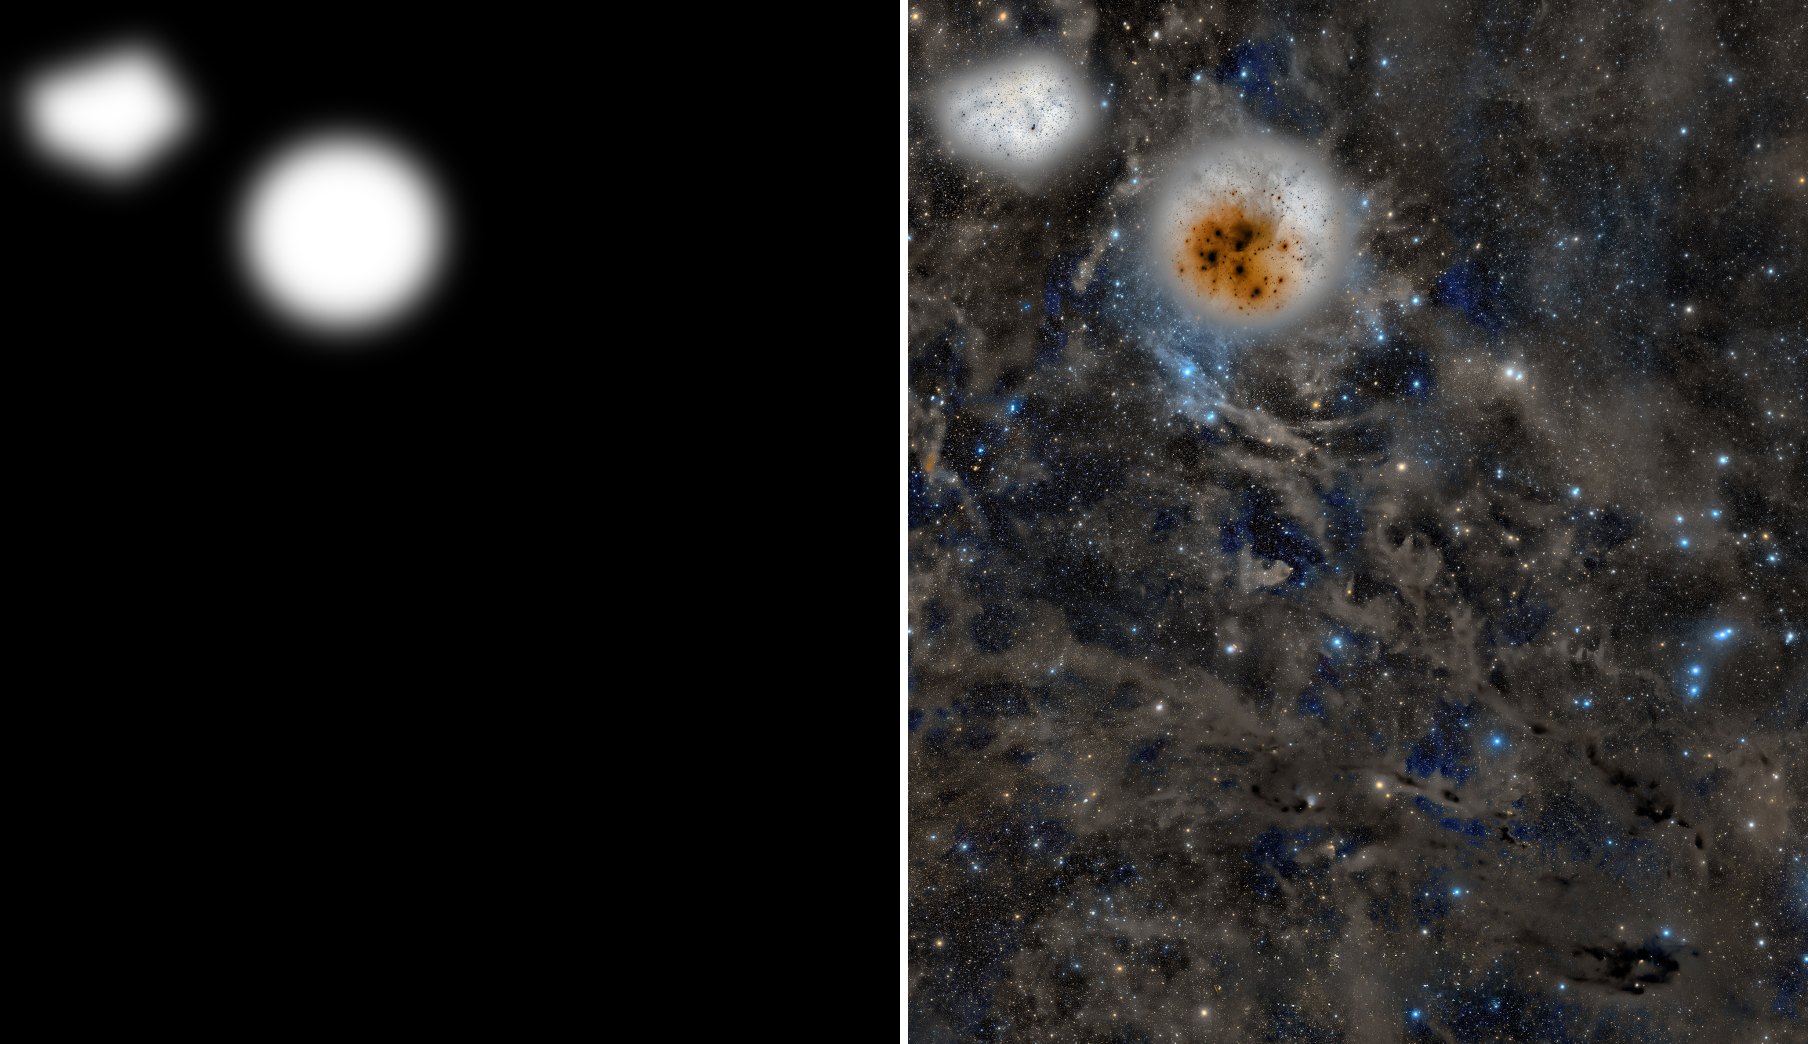
Also make a mask image: With Set Selection, the selection also becomes a new image: one channel of 32-bit floating point, white where the selection selects, black where it does not, with the feathered edges in between. It is the mask the PixInsight module makes.
Attach it as the image's mask: The new mask image becomes the image's mask, in place of the one it has. Available while Also make a mask image is ticked.
Set Selection: Ends the session and makes its steps the image's selection, as one history step. When the steps give the selection the image already had, nothing is recorded.
Cancel: Ends the session and leaves the image's selection as it was when the session began.
The bar along the bottom of the Tool panel has the same two actions on the left, the check mark for Set Selection and the cross for Cancel, and Help on the right. Preferences can hide the panel's own buttons and leave the bar alone. The line under the buttons says what the last action did.
4Working With the Selection
4.1What a Selection Does
A selection is part of the image's state, like its mask, and it is kept in the history: Set Selection is a step we can undo. While an image has a selection, every process we apply to it, from its panel, from the Process Shelf, from a saved process dropped on the image or by drag to apply, changes only what the selection selects. Inside, the result is taken; outside, every pixel stays exactly as it was; across a feathered edge the two are blended. The live preview follows the same rule, and the Log notes that a run went "through the selection".
Processes that measure the image first, such as Masked Stretch or Background Extraction, still measure the whole image; only their result is limited to the selection. When the image also has a mask, the result goes where both the selection and the mask let it through.
The menu works on the selection as well: it can hide its outline with (a hidden selection still limits processes), invert it, clear it (Ctrl+D), turn it into a mask image with , or make the image's mask its selection with .
4.2The Session
A Selection session is on one image, and it holds it while it is open: the image cannot be closed, processed or taken back in its history until we set the selection or cancel, and a message names the Selection tool when we try. The session stays open when another image comes to the front, and the panel keeps saying which image it is on. Choosing another tool, or quitting, with steps that would be lost asks whether to apply them, discard them or keep working.
Inside the session, Ctrl+Z and Ctrl+Y undo and redo the Selection tool's steps while its image is in front (the Edit menu says "Undo in Selection"); with another image in front they are that image's own undo and redo. The middle button, or the left one with the space bar held, pans the image, and the wheel zooms, so we can move around a large image while drawing.
4.3Feather and Contract/Expand Per Step
Because every step keeps its own values, a selection can be hard where it meets a sharp edge and soft where it fades into the sky. To change a step drawn earlier, we travel the history to it with <, set the new value, click To Step, and travel forward again with >|. Contract/Expand is applied before the feather, so a step contracted by a few pixels and then feathered fades out just inside the edge we traced.
5Usage Tips and Tricks
Start from the selection the image has. Opening the Selection tool on an image with a selection continues it: we add or subtract a step and set the selection again, without drawing everything anew.
Alt for a quick subtraction. Holding Alt only as the step starts is enough; the whole step subtracts.
Feather generously for local adjustments. A hard edge shows in the result as a line. A feather of a few percent of the region's size hides the transition.
The magic wand for dark lanes and bright cores. A click on a uniform area selects it to its borders. When it spreads too far, we lower Tolerance; when it stops short, we raise it a little, or add a second click.
Ways of drawing on a LaunchPad. Drag the preset handle onto a pad for each setup we use often, such as a Magic Wand at a low tolerance or a feathered Ellipse; a click on a button then switches to it.
Move a selection instead of redrawing it. Move / Rotate / Resize on the image's selection, with no session open, starts one with the frame on the last step: drag it into place and set the selection again.
A mask image to keep. A selection belongs to the image's current state; a mask image can be saved, edited by other processes and attached to other images of the same size. Also make a mask image gives both at once.
6Related Tools
Clipboard: draws selections the same way, to copy a region and paste it elsewhere.
Draw: draws the same kinds of shapes, filled or outlined, into the image's pixels.
Paintbrush: local adjustments painted with a brush, where tracing a region first is not needed.
Range Mask: a mask from a range of brightness, when the area is defined by its tones rather than by its outline.
Deep Star Mask: a mask of the stars, star by star, which no hand could trace.