
Deep Sharpen
A trained network undoes the blur the image's own stars measure
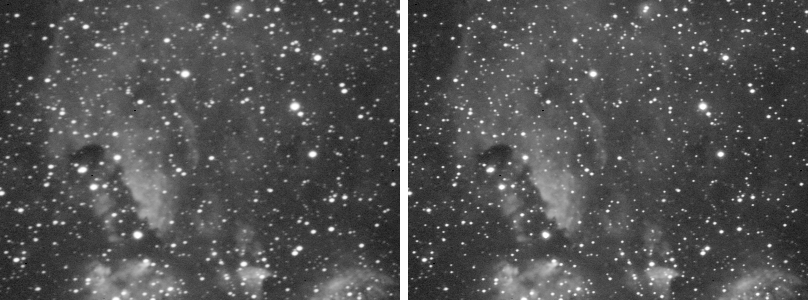
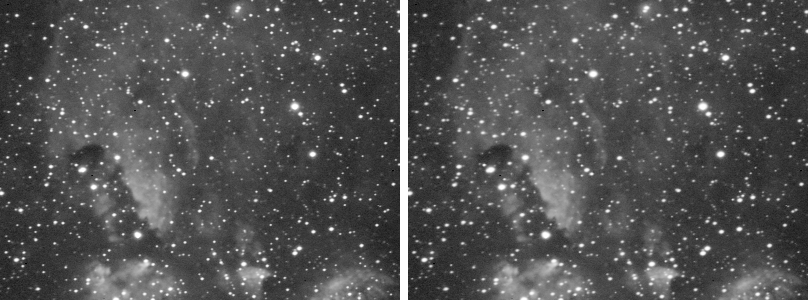
Deep Sharpen restores the detail that the optics, the atmosphere and the tracking have spread out of a linear image. It measures the point spread function of the image across the whole frame from its own stars, and a trained neural network takes that blur back toward a sharper one, region by region, with separate amounts for the stars and for everything else. It can also round elongated or comatic stars without sharpening anything.
1Introduction
Every image of the sky is blurred: the light of a point is spread over a small disk, the point spread function (PSF), by the optics, the seeing and the guiding. Undoing that blur is what a deconvolution does, and Deep Sharpen does it with a trained network doing the inversion. It does not sharpen blindly: it first measures the PSF of our own image, star by star, and fits a smooth field across the frame, so a frame that is softer in the corners than in the center is treated as such. The network is then told, region by region, what blur is actually there and how far toward a sharper one to take it.
The stars and the rest of the image have amounts of their own. The rest, non-stellar, is nebulosity, galaxies, dust and stars too faint to be detected. Holding the stars back while the structure is sharpened is the common choice; the opposite is just as valid.
Deep Sharpen works on linear data, before any stretch: the network was trained on it, and a stretched image no longer carries the blur in the form it measures. The network is trained only on public domain space telescope science data and on procedurally generated scenes.
Deep Sharpen is DeepSharp's AI Model method. DeepSharp's PixInsight module puts its seven methods on seven tabs of one process; in DSPX each is a process of its own in , and they share DeepSharp's engine and its results.
2Quick Start
- Open the linear image, before any stretch, and choose .
- Leave the settings at their defaults: Automatic PSF on, both amounts at 0.90.
- To judge the result on part of the image first, choose The visible area or A region under Preview and click Preview.
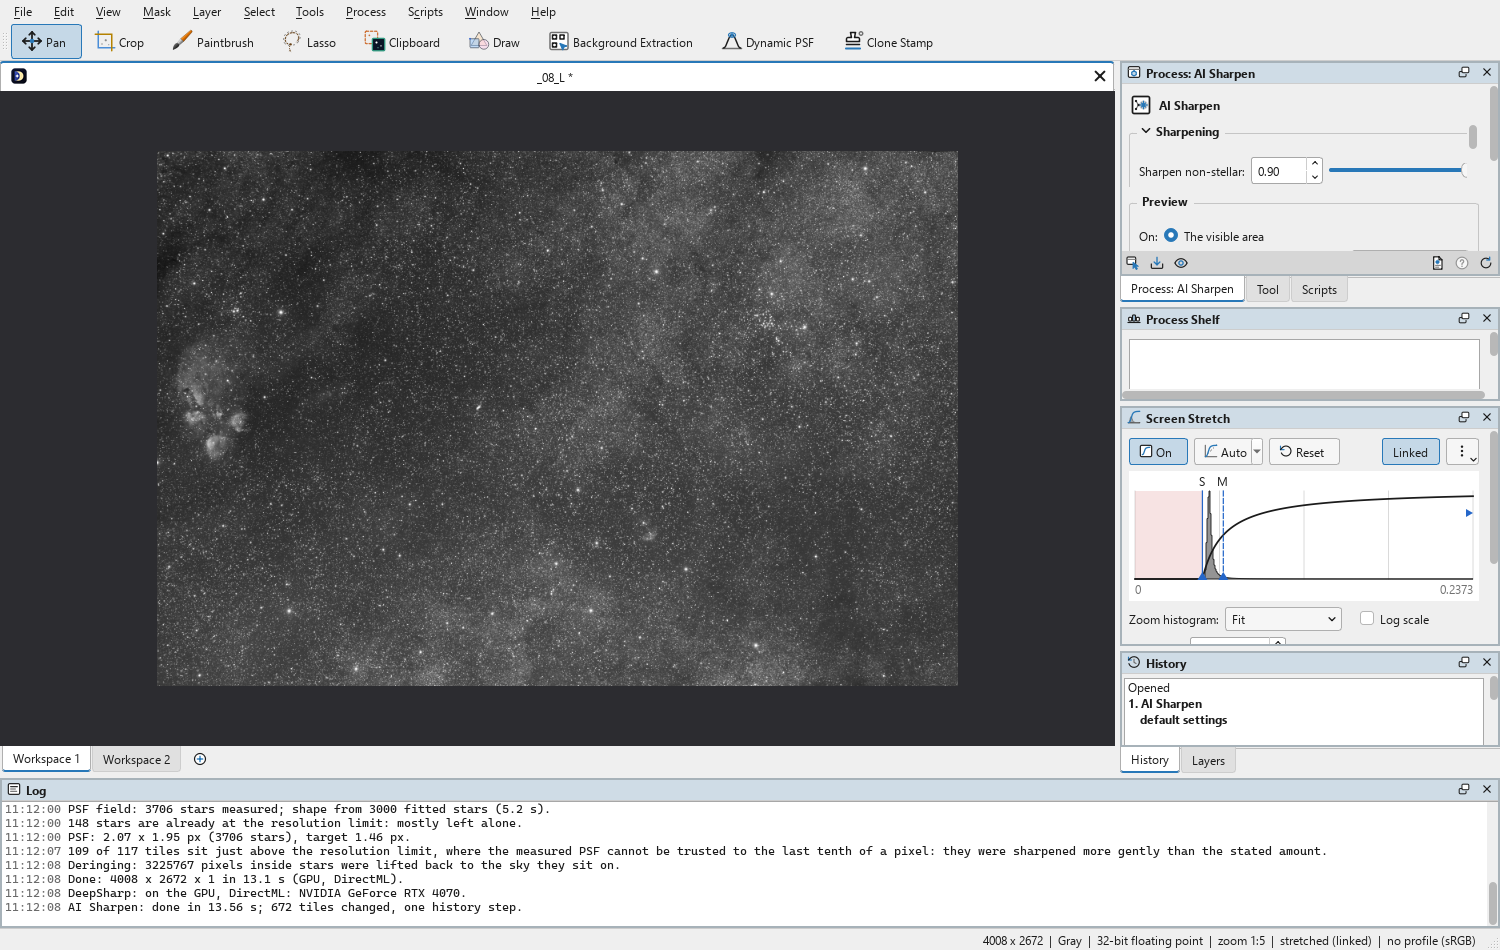
- Click Apply. When it is done, the Log says the PSF it measured, the PSF it took it to and any regions it left unchanged.
- Judge the stars and the structure separately. If the stars went too far, undo, lower Sharpen stars and apply again.
3Interface & Parameters
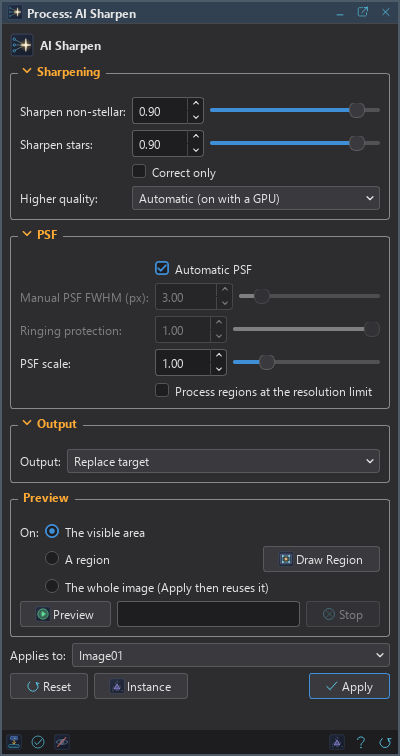
The panel has three sections: Sharpening, the amounts and how the network is run; PSF, how the blur is measured or stated; and Output. Each folds away with the arrow beside its title. Under them are the Preview box, the image the process applies to, the buttons and the system bar along the bottom. The settings that do nothing with the others as they are, such as the manual FWHM while the PSF is measured, are grayed out.
3.1Sharpening
Sharpen non-stellar: The amount for everything but the detected stars: nebulosity, galaxies, dust, and stars too faint to be detected. It runs from 0 to 1, 0.90 by default: at 0 that part of the image is left unchanged, at 1 it is taken down to the sharpest PSF the network was trained to produce, and the values between take the PSF that part of the way.
Sharpen stars: The amount for the stars Deep Sharpen detects, on the same scale, 0.90 by default. The two amounts are independent and either may be the higher. With both at 0 the image is left unchanged, and the Log says so.
Correct only: Fixes the PSF's aberrations without sharpening: elongated, comatic or astigmatic stars are made rounder at their measured size, stars already at the resolution limit included. Only the stars change; nebulosity, galaxies and the background stay exactly as they were. While it is on, the two amounts and the PSF settings but Automatic PSF are grayed out: Correct only always measures the stars, because each star is restored to its own size.
Higher quality: Runs every tile of the image through the network eight times, flipped and rotated, and averages the results, so the network's errors that depend on orientation largely cancel. On held out frames it recovered about 2.3% more of the real blur and was better in every case tested. What it costs depends on where the network runs: about a third more time on a graphics card, six to eight times more on the processor.
- Automatic (on with a GPU): the default. On when the network runs on the graphics card, off on the processor.
- Off: never.
- On: always, on the processor too, for those willing to wait.
3.2PSF
Automatic PSF: On by default. Deep Sharpen detects the stars, measures the size and shape of each, and fits a smooth field to them across the frame, so a region with few stars takes the measurement of its neighbors. It follows the real PSF of the frame, its variation toward the corners and the elongation of the stars included. We turn it off only when the stars cannot be measured, and then state the PSF with Manual PSF FWHM.
Manual PSF FWHM (px): A round PSF of this full width at half maximum, in pixels, used everywhere in the frame while Automatic PSF is off. From 1.20 to 16.00; 3.00 by default. It is used as given, with no check against the stars. Below about 1.6 pixels the stars are already close to what the pixels can resolve, and sharpening further tends to over process them.
Ringing protection: For a stated PSF only. A PSF larger than the one the stars really show sharpens harder, and surrounds every star with a dark collar: the halo is pushed far below what the real PSF would leave. Ringing protection holds that halo up, by an amount worked out from the difference between the stated PSF and the one measured from the stars: a small overstatement is left almost alone, a large one is contained. The setting scales that: 0 turns it off, 1, the default, applies it in full. Holding the halo up keeps light that a correct deconvolution would have moved into the core.
PSF scale: For a measured PSF: multiplies it, tile by tile, so its variation across the frame is kept. From 0.25 to 4.00; at 1.00, the default, the measurement is used as it stands. Above 1 we ask for more sharpening than the stars justify, below 1 for less. Past about 2 the stars stop getting smaller and start gaining flux instead: structure is being added around them, rather than a star restored. The scale is left open because a starless image, or one we know well, may still be worth pushing, but beyond 2 we are applying an effect and judge it by eye.
Process regions at the resolution limit: For a measured PSF. Off by default: the regions whose stars are already at the resolution limit are left exactly as they are, because the measurement there cannot tell a 0.8 pixel star from a 1.4 pixel one ("How Deep Sharpen Works" below). On, they are sharpened anyway, and the Log says how many tiles were involved. We expect amplified noise where there was nothing to gain, and use it only when we know the frame better than the measurement does.
3.3Output
Output: Where the result goes.
- Replace target: the default. The image is sharpened in place, in one history step that Undo takes back, through the image's mask if it has one.
- New image: the image is left untouched and the result arrives as a new image named after it, with
_sharpat the end. Handy for comparing two settings side by side.
3.4Apply, Preview and Instance
Preview: Shows the result on the image without changing it, computed at full resolution on The visible area, on A region we draw on the image with Draw Region, or on The whole image, which Apply then reuses instead of running again. A preview never starts by itself: it is computed when we click Preview, with its progress and Stop. On a part of the image it is close, not exact: the PSF field is measured on the stars of the part. Before, in the image's banner, or the backslash key held, shows the image as it is.
Applies to: The image Deep Sharpen works on, chosen in a list of the open images. It shows the image in front, and follows it as we bring other images to the front. Picking another image in the list makes the panel work on that one, its preview included, without bringing it to the front; the pick stays while we work on other images, and Follow Active, the small button that appears beside the list, makes the panel follow the image in front again. An image that a tool or a run is working on is listed, but cannot be picked.
Apply: Sharpens the image named in Applies to, as Output says. A color image is sharpened channel by channel, with the PSF measured once from the average of its channels, so every channel is treated alike. The run shows its progress in the panel, and Cancel leaves the image as it was.
Instance: Shows the process as the panel has it now, as text: the settings as a DSPX
process (.dsproc) or as a PixInsight process icon (.xpsm), chosen under Format. The icon is
a DeepSharp icon with its method set to AI Model, which DeepSharp's PixInsight module opens on that tab. Copy
puts the text on the clipboard; Save... saves it as a file and puts it on the Process Shelf.
Reset: Puts every setting back to its default.
The system bar along the bottom of the panel has the same commands as small icons: at the left, drag to apply and Apply; at the right, Instance, Help (this page) and Reset. Drag to apply, the first icon, carries the process with its settings: dropped on an image's window, it sharpens that image, whatever image the panel works on; dropped on the Process Shelf, it is kept there as a row of its own. With , the bar alone has them.
4How Deep Sharpen Works
Knowing what Deep Sharpen does with the image makes its report in the Log, and its occasional decision not to act, easy to read.
Measuring the PSF. With Automatic PSF, the stars are detected, each one's size and shape measured, and a smooth field fitted across the frame. The measurement is taken on stars of middle brightness: bright stars measure wider than the true PSF because of their wings and nearly saturated cores, and very faint ones are dominated by noise. This is why the PSF Deep Sharpen reports is usually smaller than the FWHM a fit of the bright stars gives for the same image. The two figures are measured differently, and both are right for what they measure.
The target. The network is asked to take the local PSF toward a target size. At amount 1 the target is 1.0 pixel, the sharpest PSF the network was trained to produce; lower amounts stop proportionally short of it. AI Sharpen never asks for a PSF larger than the one measured, so it never blurs.
Regions already at the limit. Below a measured FWHM of 1.6 pixels, the stars are too small for their size to be measured reliably, and there is essentially no blur left to remove. With Automatic PSF, the frame is processed in tiles, and a tile below that size is left exactly as it was. The Log says how many tiles were left unchanged, or that the whole image was already at the resolution limit. On a frame whose stars are sharper in the center than in the corners, the corners are sharpened and the center is not. Correct only does not follow this rule: it rounds stars of any size.
Just above the limit, less than asked. Until the measured PSF is comfortably clear of the resolution limit, the measurement cannot separate 1.7 pixels from 1.9, and a full correction there makes the network chase a target it cannot reach, which it answers by driving the star cores up rather than pulling the stars in. So the amount is tapered: full strength from about 3 pixels, about four fifths at 2.4, three fifths from 2 to 2.1 and one fifth at 1.7 and below, sliding between. On held out frames, a full correction at 1.7 pixels scored worse than leaving the image alone, while a fifth of it recovered most of the real blur. The taper applies to the PSF the network is finally given, so Manual PSF FWHM and PSF scale move it with them.
Too few stars. When fewer than 12 stars can be measured, there is no PSF to fit, and the image is left unchanged rather than guessed at. Manual PSF FWHM is the way forward when we know the PSF of our data.
Noise that looks like stars. A real PSF has the same shape at every brightness. When many faint detections are elongated in a way the bright stars are not, which is typical of walking noise and hot pixel trails, the image is still processed, and the Log warns that the measured PSF may be unreliable.
Stars and non-stellar detail. The network runs once, at the higher of the two amounts. Where the stars are, the result is blended back toward the original by Sharpen stars; everywhere else, by Sharpen non-stellar. The detection errs on the side of the stars: faint and tiny stars are included, and small bright knots in a nebula or a galaxy may be too, while broad peaks such as a galaxy's core are not.
Stars keep their footing. Sharpening takes a little too much from the ring right around a star. Where the star's wing is only a little above the sky, that crosses it, and the star is left in a shallow dark pit that a stretch makes obvious. Deep Sharpen lifts those pixels back: within three times the local PSF of a detected star, no pixel is left below the sky the star stands on, nor below what it was. Only the pixels that would have been dug out are touched.
Correct only. The stars are found, and each group of faint detections is checked against the shape of the stars: detections that do not share the stars' elongation are nebular structure and are left alone. The network then rounds every star with the measured PSF, and the brightest stars each with their own measured shape. Rounding makes small stars slightly smaller, so each brightness group is brought back to its original size with a round blur, which cannot add the elongation back. The Log lists each group with its roundness before and after, its size and its flux.
Noise. The network is trained to pass the background noise through untouched: Deep Sharpen sharpens, it does not denoise, and it does not amplify the noise either.
4.1The AI Files
Deep Sharpen needs its model file and ONNX Runtime, both installed with DSPX. shows what was found and what the network last ran on. Under Processor, Automatic runs the network on the graphics card when there is one it can use, else on the processor; CPU only always uses the processor, which is slower and can differ slightly from the card's result. The network runs on the graphics card where it can and on the processor otherwise, and the Log names which. When a file is missing, Deep Sharpen does not run and the Log says which file, where it was looked for and what to do. The other six sharpening processes need no AI files.
5Example
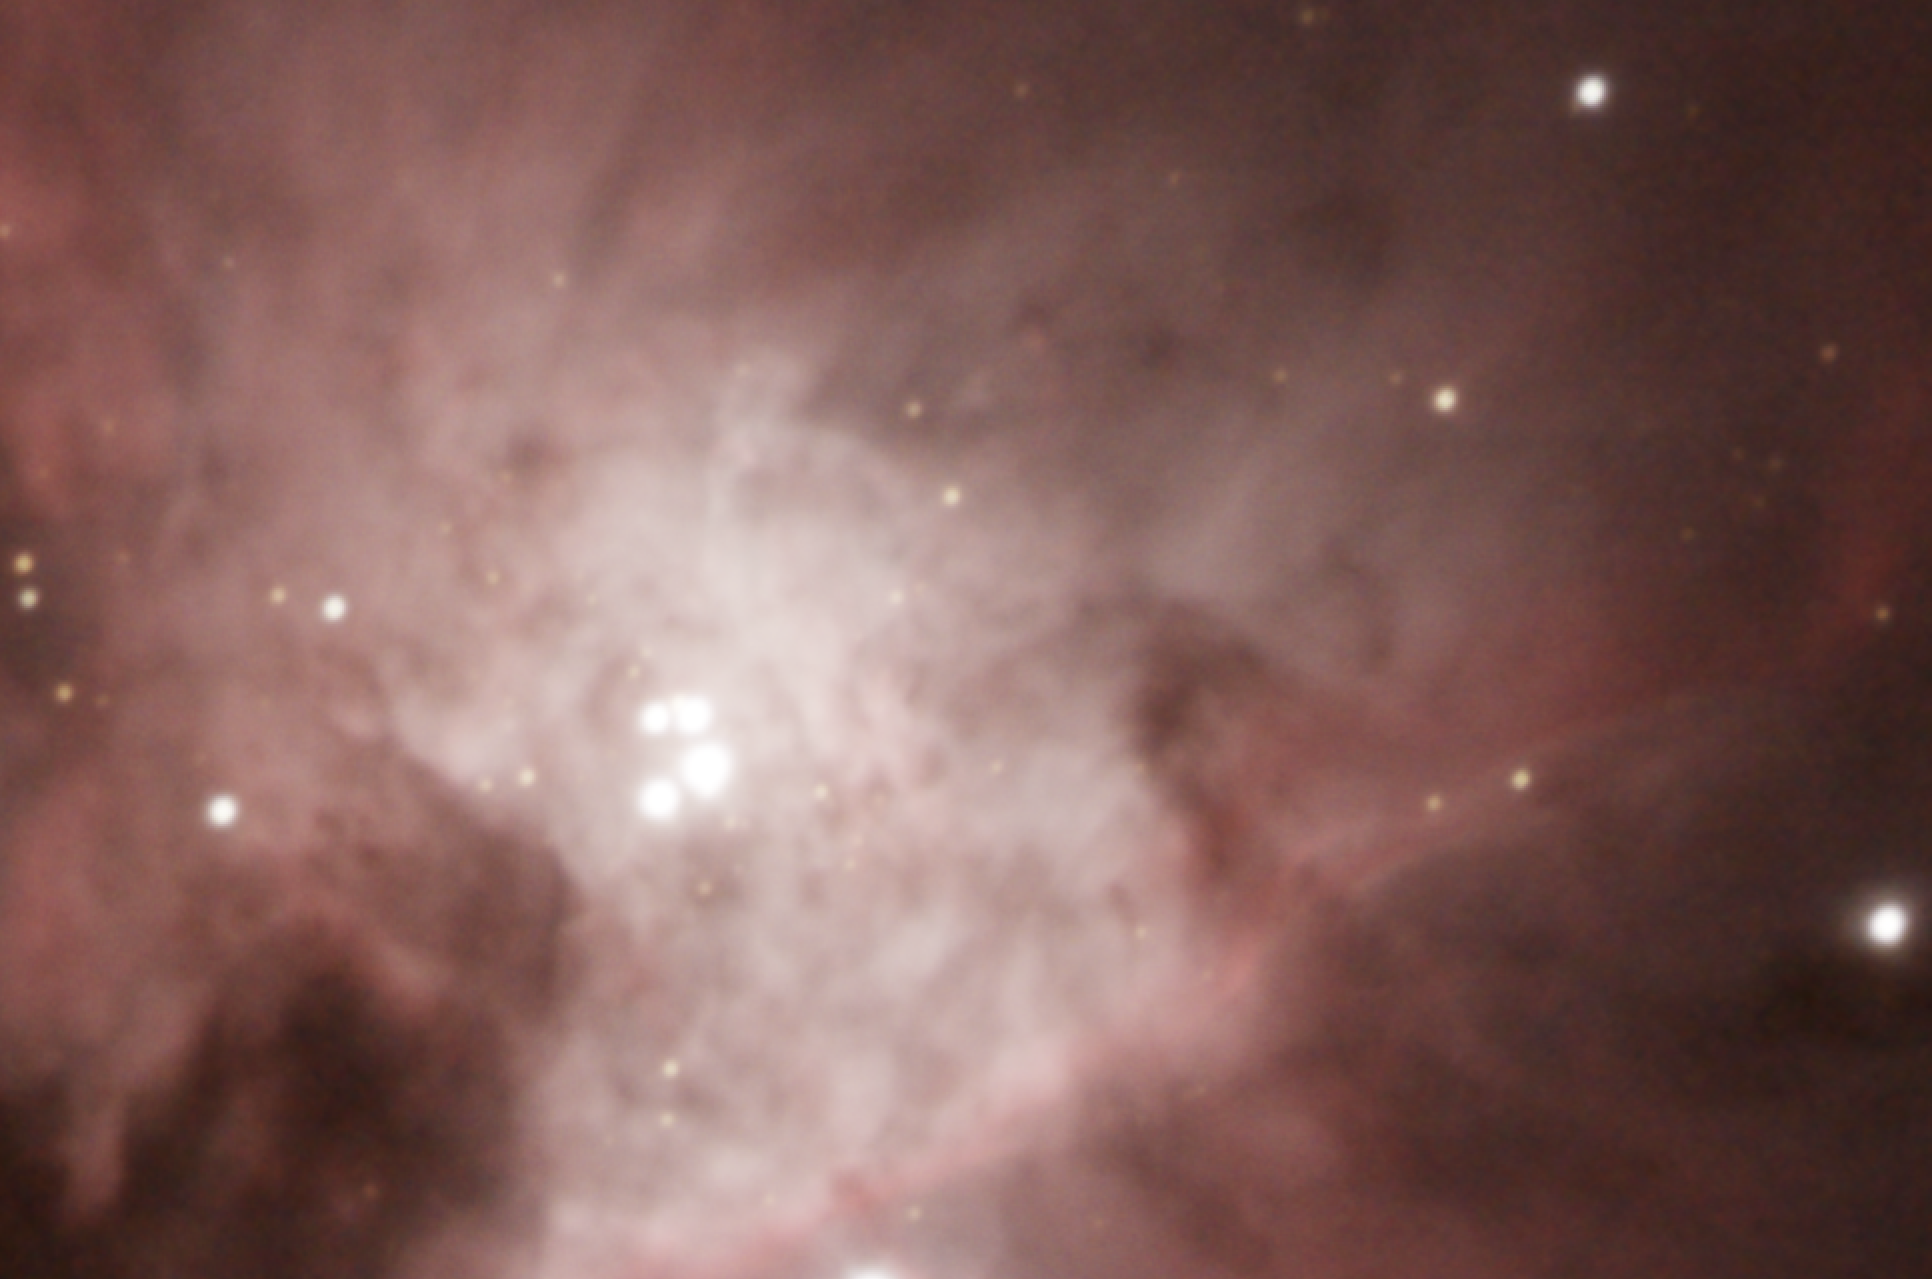
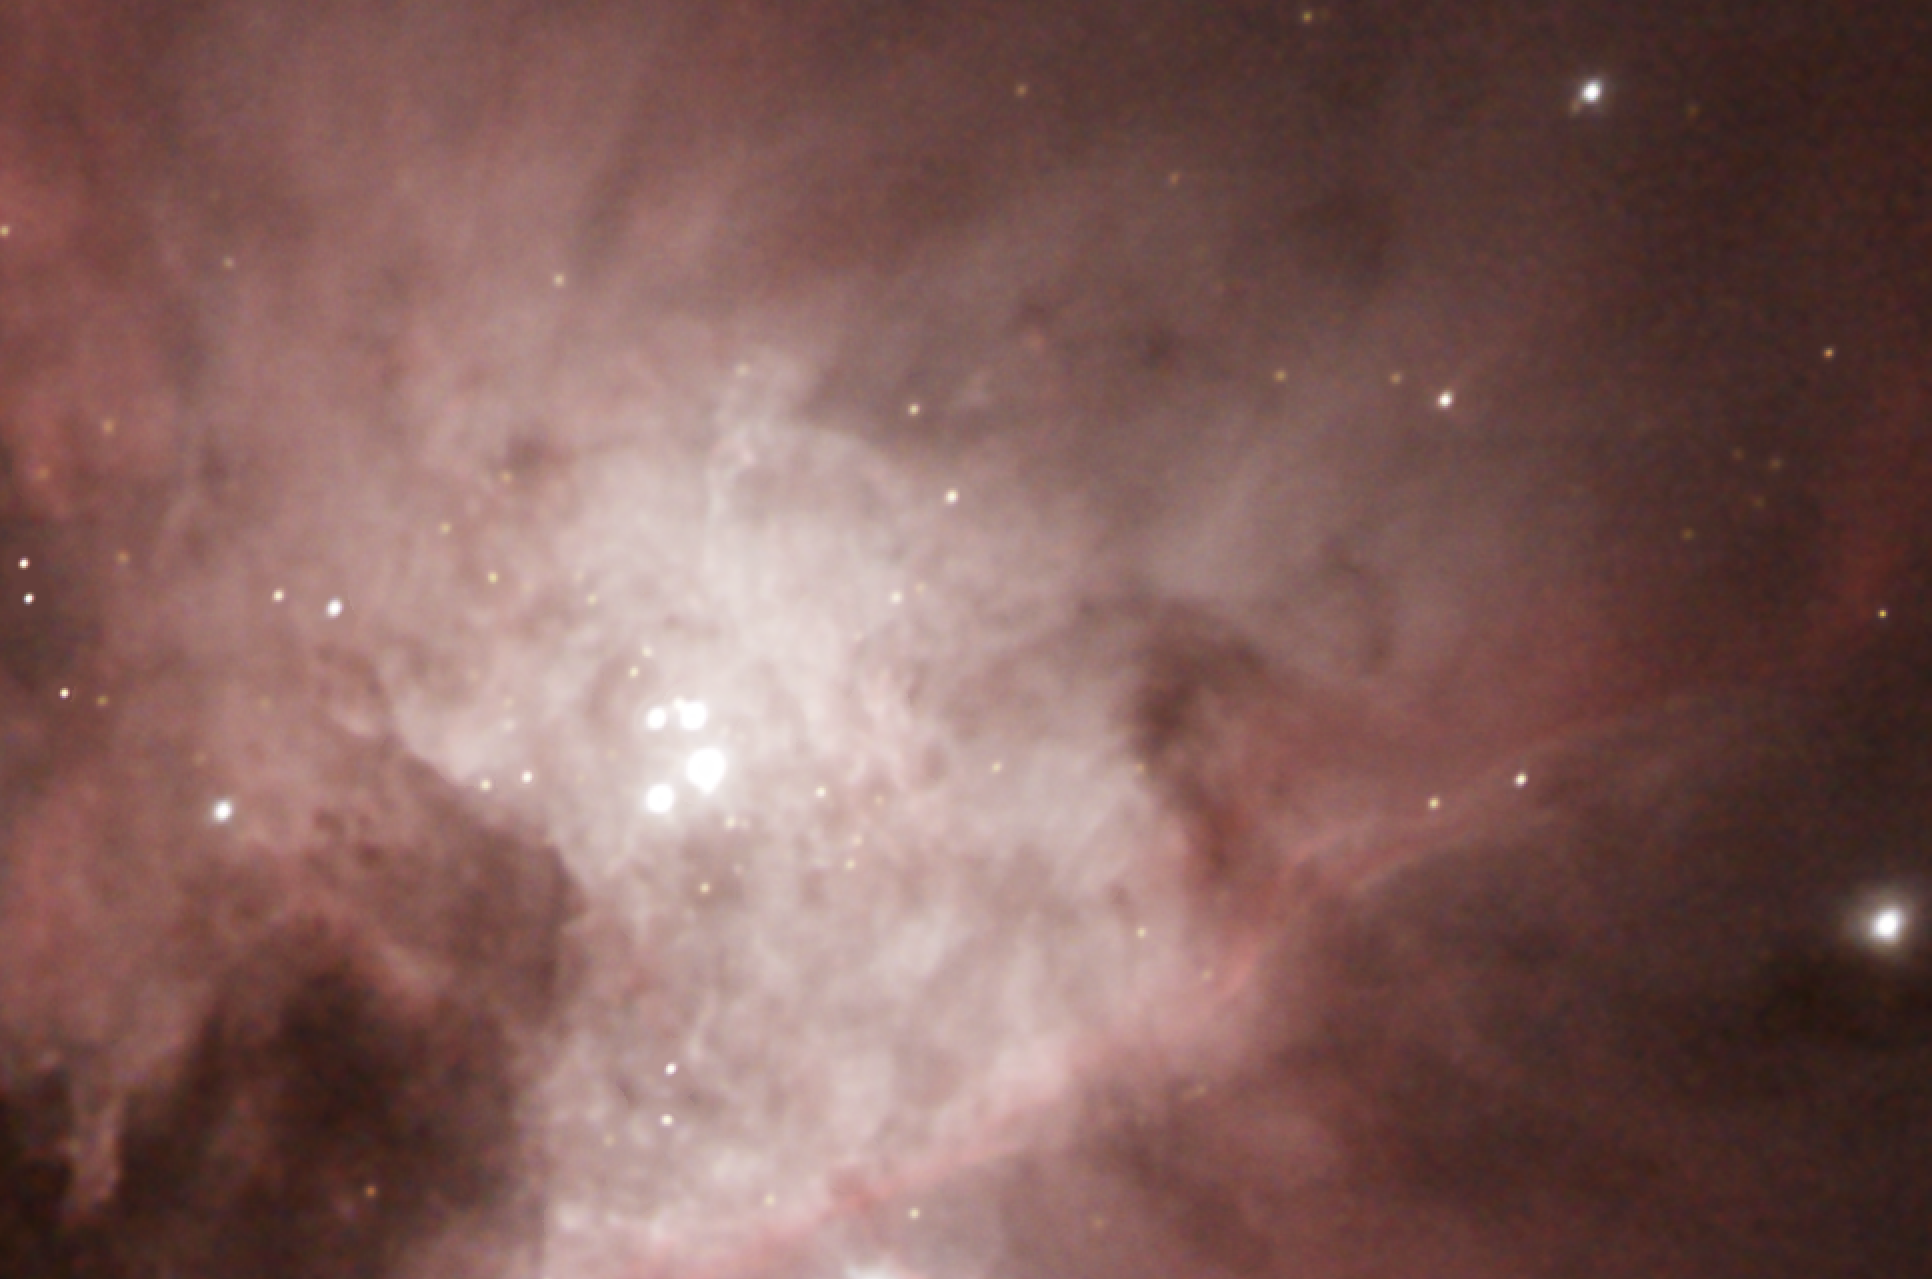
6Usage Tips and Tricks
Linear data only. Apply Deep Sharpen before any stretch. On a stretched image, the methods that redistribute detail are the ones to use: Flow Sharpen, Texture Sharpen, Multiscale Sharpen and Clarity.
Apply it once. If the result is too mild, raising the amounts gives a cleaner result than a second pass.
A soft frame may sharpen less than the amount suggests. When the Log says tiles were sharpened more gently than the amount, those tiles sit just above the resolution limit, where a full correction does more harm than good. Raising the amounts will not override it, by design. If we are sure the frame is softer than the measurement says, PSF scale is the setting to raise: it moves the whole request, and the taper with it.
Do not compare the PSF with a fit of the bright stars. Deep Sharpen measures stars of middle brightness, so its figure reads smaller.
Star poor images. When the Log says there are too few measurable stars and the image is left unchanged, turn off Automatic PSF and state the PSF of the data in Manual PSF FWHM.
Faint detections that do not look like stars. When the Log warns about them, the measured PSF may be unreliable: noise and fine nebular texture both leave that signature. Check the result closely, or state the PSF by hand.
Elongated but sharp stars. Correct only rounds them at their measured size and leaves everything else exactly as it was.
Preview a region with stars in it. The PSF is measured from the stars of whatever is previewed, so a region needs stars to measure; a region of a few hundred pixels across a star field previews in a fraction of the time of the whole frame.
Recover first, shape afterwards. A common sequence is Deep Sharpen or Deconvolution on the linear frame, then, after the stretch, Flow Sharpen or Texture Sharpen for the structure, and a Filament Sharpen mask when any of it should be applied selectively.
7Related Tools
Deconvolution: the classical answer to the same question, Richardson-Lucy against the same measured PSF field. The choice when we would rather not hand the frame to a network, or simply to compare.
Multiscale Sharpen: a gain for each size of detail, on linear or stretched images.
Texture Sharpen: sharpens the faint texture and quiets the sky in one pass.
Flow Sharpen: sharpens across the structure, never along it.
Clarity: local contrast that cannot form a rim along an edge.
Filament Sharpen: finds long thin structure, enhances it or makes a mask of it.
Deep Star Mask: a star mask, to protect the stars or to work on them alone with another process.