FSQ106 ED/EDX + Extender Q + STL “HowTo”
If you have a Takahashi FSQ106ED (or EDX) telescope with the camera rotator (CAA #17), and a SBIG STL camera, and would like to use the Extender Q, the combination of adapters you need can get a bit tricky. Below I explain in detail a combination that works very well for me.
These are the pieces and adapters you’ll need – in addition to the scope, camera rotator and STL camera, or course.
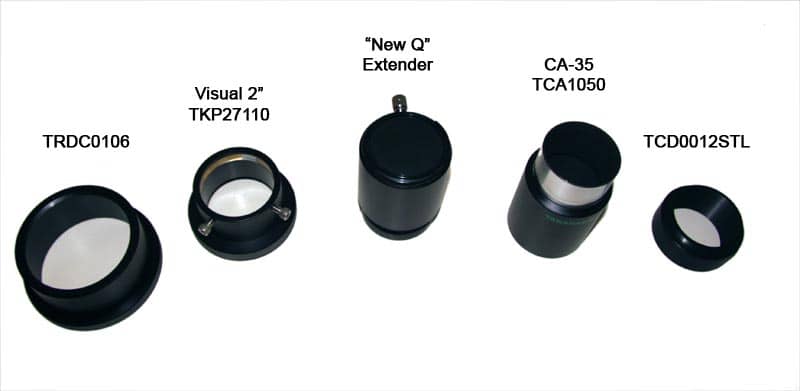
If you use a FW-8 filter wheel instead of the internal wheel, don’t get the TCD0012 part. Get the TCD0012S instead. One place you can purchase these new is at OptCorp.
First, you’ll need to buy or make shorter thumbscrews for your Visual 2″:
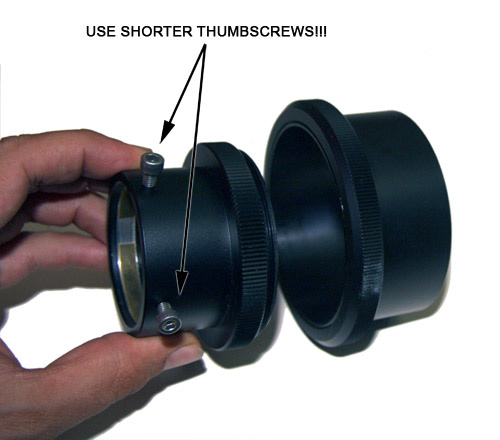
I was able to find them at a local Home Depot, so hopefully it won’t be hard for you to find them. Depending on your ability, it might be easier just to cut short the ones that come with it. I wanted to keep the originals just in case, that’s why I decided to get a new set. If you get the Hex Allen type,even better.
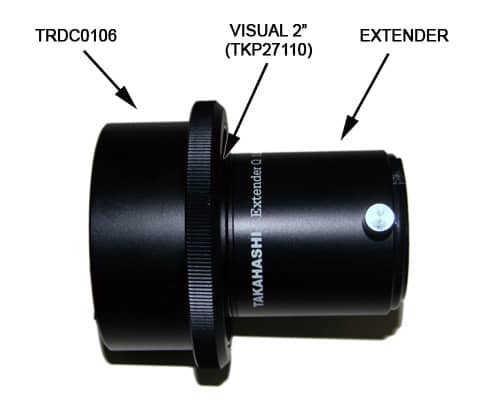
Now, why use shorter thumbscrews? Because this piece will go all the way inside the TRDC0106, like shown in the two images below, and the original thumbscrews that come with the Visual 2″ are just too long, so you won’t be able to insert the Visual 2″ all the way inside the TRDC0106 unless you use shorter thumbscrews.
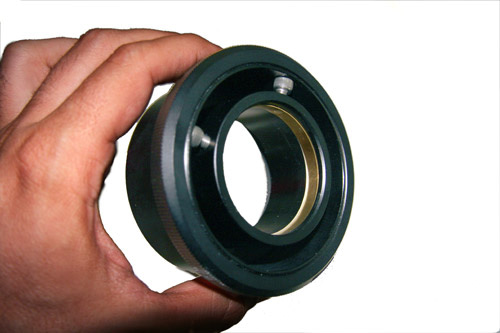
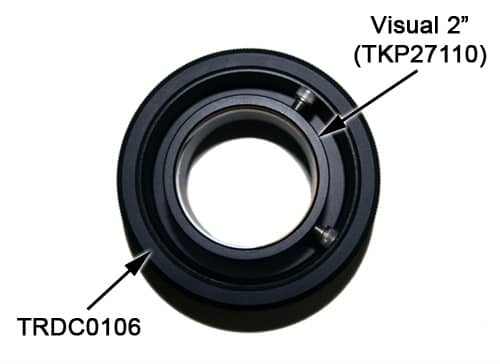
Now that you know that, let’s build the optical train.
Step 1
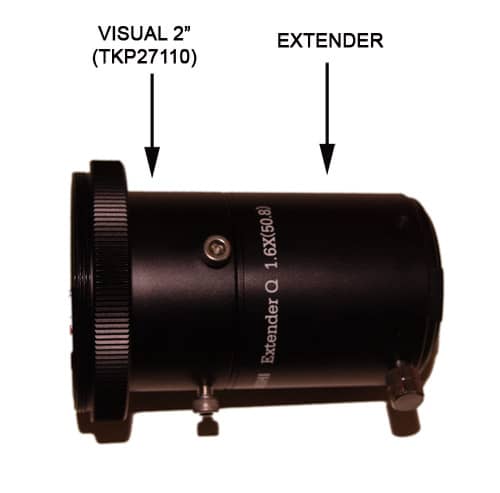
The first thing you need to do is to put the extender inside the Visual 2″, and tighten the (shorter) thumbscrews. For safety, don’t just rely on your fingers.
You do this first because if you did step 2 first, you wouldn’t be able to do this step aftwerwards – the Visual 2″ tumbscrews would be inside the TRDC0106, no way you’d be able to tighten them then!
Step 2
Now you insert the Visual 2″ inside the TRDC0106. By the way, you could – in fact I recommend it -put the TRDC0106 on your scope already, and build the optical train as you go.
Step 3
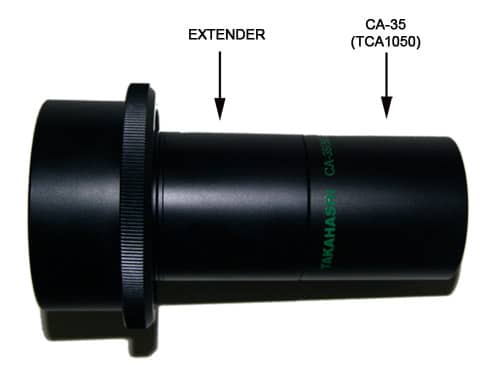
Now it’s time to put the CA35 inside the extender. Make sure the CA35 thumbscrew is tight. Not only you’re going to hang a very expensive 4lb CCD later, you want to mak esure the optical train stays as straight as possible to avoid flexure and other evil things.
Step 4
Now it’s time to put the threaded TCD0012STL into the CA35.
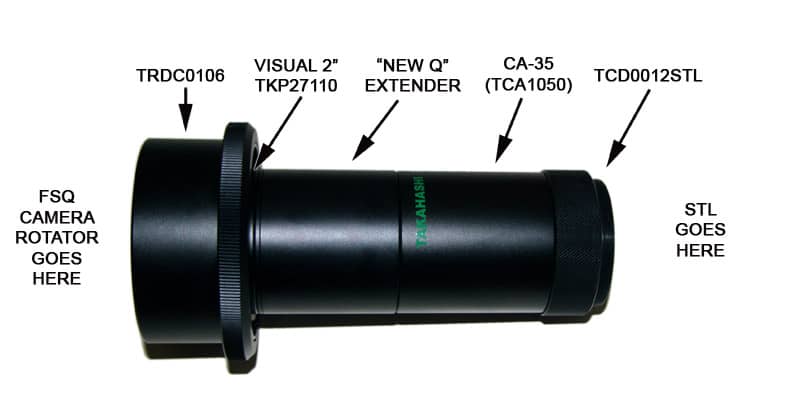
Once that’s done, all you have left is to connect the STL to the TCD0012STL and you’re done.
Happy imaging!!
