Masks and Selections
Limiting a process to the part of the image we choose
A process rarely belongs on the whole image. A mask, which is an image attached to another, and a selection, which is a region drawn on the image, both say where a process acts and how much. This chapter describes how to attach, enable, invert and show a mask, the processes that make masks, how the Selection tool's selection is made and used, and how a mask and a selection work together.
5.1Masks
A mask is an image attached to another image. Wherever the mask is white, a process changes the image in full. Wherever it is black, the image keeps every bit it had, and the grays in between let the result through in proportion. When a process finishes, DSPX blends its result into the image through the mask. The same blend holds for the live preview, the snapshots, saved processes, containers and everything else that applies a process.
5.1.1Attaching a mask
Any open image of the same width and height as the target can be its mask. A gray image is used as it is; for a color image, the mask is its first channel. Two ways attach one:
- Bring the image we want to protect to the front, and choose . The submenu lists the other open images
with their sizes, such as
stars_mask (4008 x 2672); choose one. - Or drag the mask's tab from its image window onto the target image's column (below).
If the image has a mask already, the program asks whether to replace it. When no other image is open, the submenu says so. The mask must have the image's width and height. detaches the mask; the mask image stays open.
A mask that a process made is attached with (Ctrl+Shift+M), with the mask in front. The menu entry names the image, for example "Attach to M31 as Its Mask". If the image it was made from has been closed, the program says so, and attaches it to any image of its size.
5.1.2Enable, invert and show
Enable Mask: Turns the mask on or off without detaching it. A disabled mask has no effect on any process, and the status line shows "disabled".
Invert Mask: Swaps white and black: the processes now act where the mask is dark (Ctrl+Shift+I). The mask image itself is not changed.
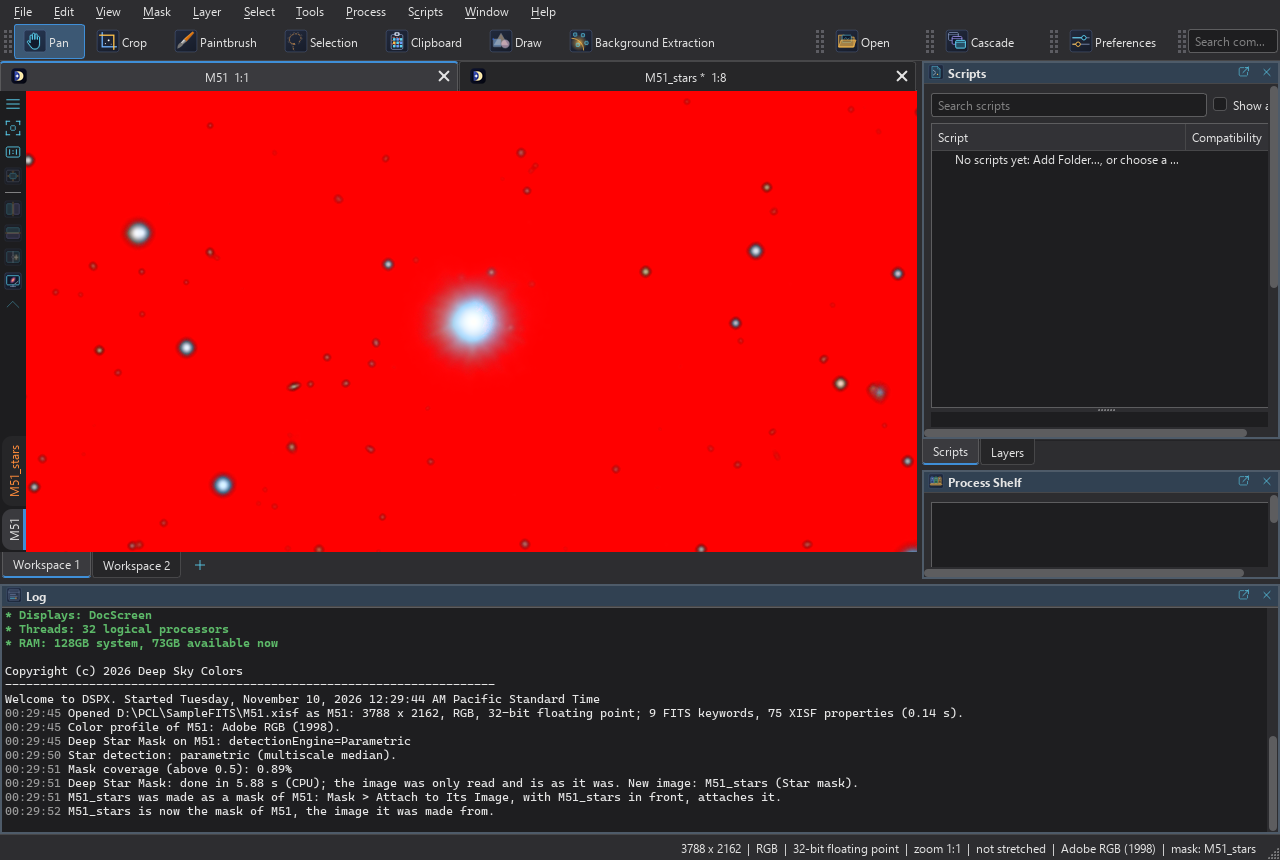
Show Mask: Shows the mask over the image as a red overlay, so we can see what is protected: the red is strongest where the mask is black (Ctrl+Shift+K). The mask still applies when it is hidden, as a mask that is not shown still applies. The overlay's color is the theme's; the tools' overlays take the theme's colors too (Themes).
The status line gives the mask's name and how it is: "mask: stars_mask (inverted, hidden)" (Statistics and Pixel Values). The pointer readout adds the mask's value under the pointer.
5.1.3The image column
Every image window has a narrow column at its left. At its bottom are vertical tabs, from the bottom up: the image, its mask when it has one, then one tab for each layer. A click shows that image or layer in the window. Ctrl+click on the image's tab shows its mask in the window, and its tooltip says "Ctrl+click: show its mask", or "It has no mask" when there is none. A tab dragged onto another image's column sets the dragged image as that image's mask when dropped on its image or mask tab, and adds it as a new layer otherwise (Layers).
5.1.4The size of a mask and its channels
A mask is a single channel of values from 0 to 1. The masks that DSPX's processes make are gray images with 32-bit floating-point samples.
Layers have masks of their own, of any size and offset (The Layers Panel and the Layer Menu).
5.2Masks Processes Make
Most masks are made by a process from the image they will protect. The result arrives as a new gray image, named after its source, and is attached with . A run that only makes a new image does not change its target and adds no history step (Processes That Make New Images).
| Process | Makes a mask from |
|---|---|
| Deep Star Mask | The stars: a mask that is bright where the stars are, with their cores, halos and spikes, and a choice of which stars and how much of each. |
| Range Mask | The brightness: white where the values are within a range, black where they are not, with smoothness and inversion. |
| Color Mask | The color: the pixels of a given range of hue, saturation and lightness. |
| Filament Sharpen | The shape: its filament mask selects long thin structures, whatever their brightness. |
| Binarize | A threshold: every pixel black or white, for a hard-edged mask. |
| Selection | A selection drawn by hand, as a mask image in the same action (below). |
| Extract Alpha Channels | An alpha channel of an image, each offered as a mask of the image. |
The other direction is Create Alpha Channels, which fills alpha channels with the gray of a mask, for example to save a PNG or a TIFF with transparency. Pixel Math can combine masks with expressions.
A mask is an image like the others, so we can process it. A range mask that is too hard becomes smooth with Blur; two masks multiply with Pixel Math; a mask darkens or brightens with Curves. Do this on the mask image, then attach it.
5.3Selections
A selection is geometry on the image, not an image of its own: regions drawn by hand, added to or subtracted from one another, each with its feather. A mask is a different thing: an attached image. Both can be on an image at once.
5.3.1Making a selection
The Selection tool draws the selection: freehand shapes, rectangles, ellipses, polygons and magic wand regions, each with a feather and a contraction or expansion, and an invert step. The Selection tool starts from the selection the image has, and its Apply, whose button reads Set Selection, makes the steps it holds the image's selection, as one history step (Selection). The Clipboard tool's move, rotate and resize works on the selection too.
The selection is drawn over the image as an outline, with the colors of the theme.
5.3.2The Select menu
Selection to Mask Image: Makes the selection a new image, named after the source with the suffix _mask: one gray 32-bit floating-point channel, 1 inside, 0 outside, with the feather's
ramp between. Attach it with Mask > Attach to Its Image. If no mask image can be made from the selection, the program says so.
Mask to Selection: Makes the image's mask its selection. The selection then carries the mask's values as its coverage, so turning it into a mask again gives that mask back to the bit. What is below zero in a mask selects nothing.
Invert Selection: Swaps the selected and the unselected parts.
Clear Selection: Removes the selection (Ctrl+D). Three other ways do the same, each one history step that Undo takes back:
- With the Selection tool drawing freehand, rectangles or ellipses, a click outside the selection.
- The Clear button of the Selection tool's panel, next to Invert.
- The image menu, the button at the top of the image's column: while the image has a selection, it offers Clear Selection and Invert Selection for that image.
Show Selection: Shows or hides the outline. A hidden selection still limits processes, as a mask that is not shown still applies, and the banner of a preview and the Log say so.
5.3.3A selection limits processes
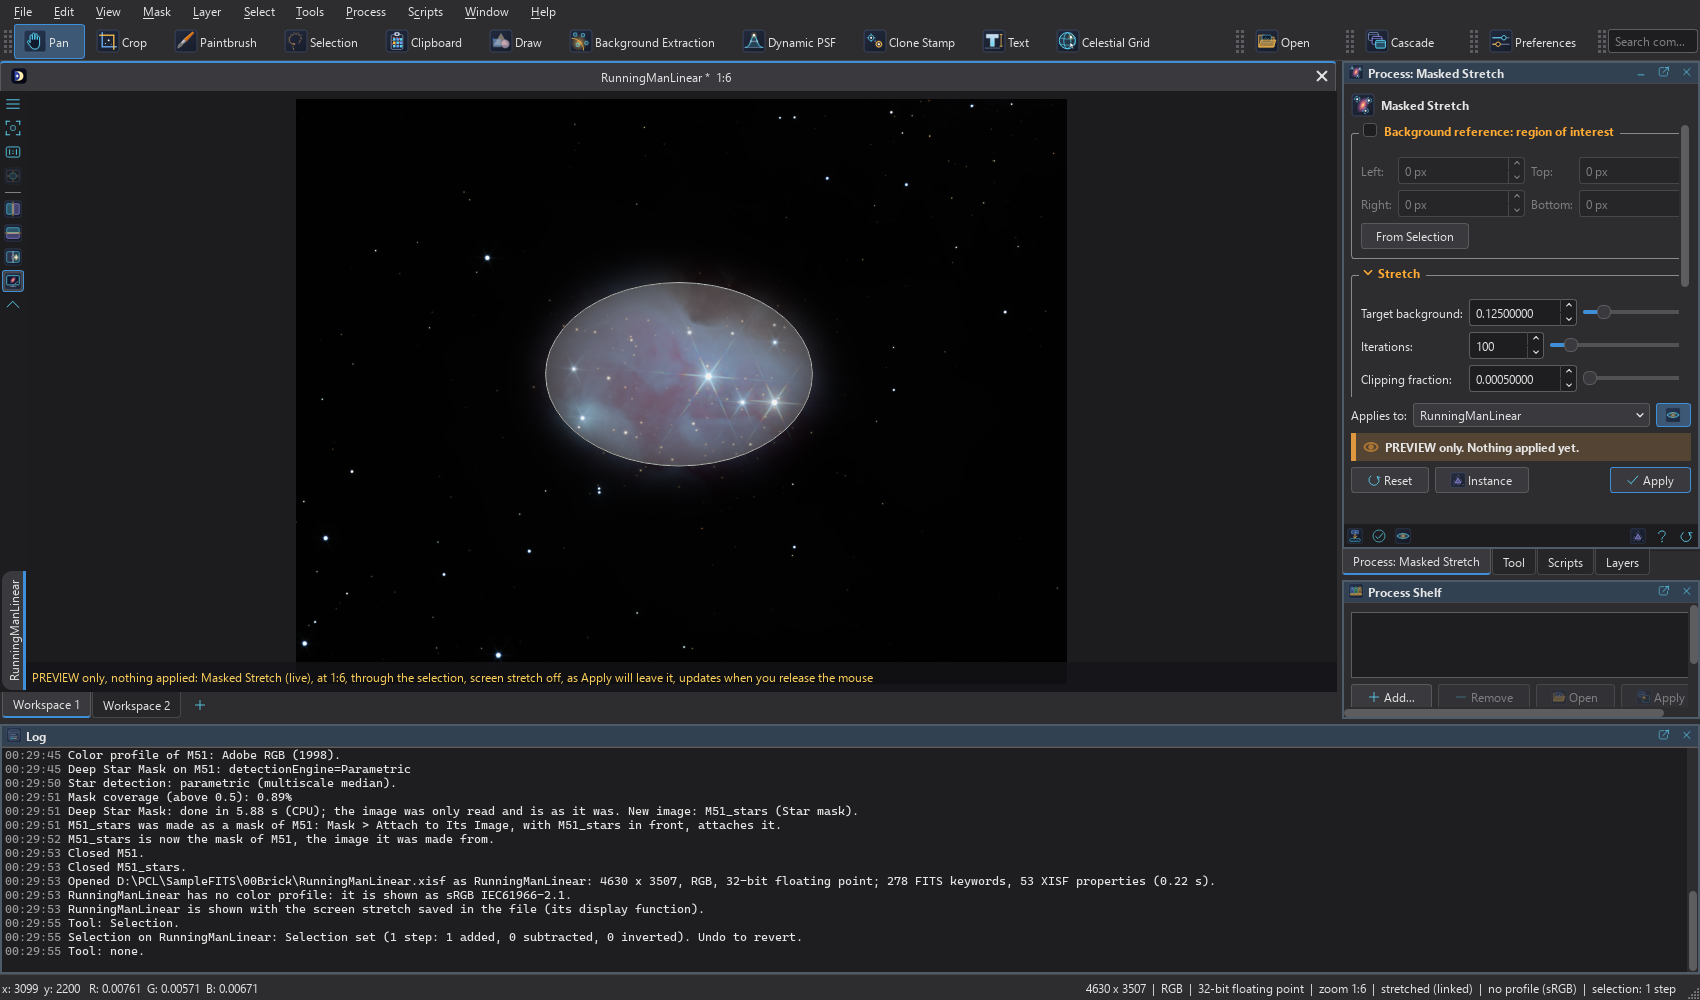
A process's result is blended through the selection's coverage, as through a mask: inside the selection it takes the result, outside every bit of the image is kept, and the feather's ramp blends in between. This holds wherever a process applies: the live preview, a snapshot and Exact, Apply from the panel, from the shelf, from a saved process or a file dropped on the image, a process container, and the tool that runs a process (Background Extraction's). The banner of a preview says "through the selection", or "through the selection and the mask", and the Log says "through the selection (1 step)".
- A selection and a mask together: the result goes where both select, as much as both do. The selection's coverage is multiplied by the mask's, an inverted mask included.
- Processes that measure the whole image first (Masked Stretch, the statistics of Pixel Math, Background Extraction's fit, the automatic stretch of the AI processes) measure the whole image, as they do with a mask; only their result is limited to the selection.
- Workflows: a blueprint run and Guided Processing work on the whole image and decide on their measurements of it, so they do not use the selection. The Log says so when the image has one. The image's mask, and a step's own mask, apply as before (Workflows and Blueprints).
- Layers: a layer's image or mask goes through its layered image's selection, drawn on the canvas, in the layer's own pixels. A process layer runs on the composite below it, its own mask aside.
- Exceptions: geometry processes (a crop moves the selection with the pixels if the crop is not rotated; the others clear it), a change of format (Convert Color, Sample Format), the tools that paint (Paintbrush, Draw, the Clipboard's paste), and Siril scripts work through the mask only.
- From Selection: the reference region of Background Neutralization, Color Calibration and Masked Stretch has a From selection button that takes the bounds of the selection and clears it in one history step, so the selection no longer limits the process: Apply changes the whole image, and the region's note says so. Undo brings the selection back, the region kept.
The Clipboard tool copies from the selection (Clipboard).